
This Fourth of July, we decided to experiment with Bare Conductive’s Touch Board to help spark an interest in circuitry among our readers. The Touch Board is a limitless interface at the heart of some of Bare Conductive’s most innovative STEAM tools. Using it, students can turn touch into sound with the help of conductive materials. Simply by enlisting conductive paint, it’s possible to turn a simple piece of paper into, let’s say, a DJ center, for example. Or, for kids who want to challenge themselves a bit more, they could create a distance sensor or even a DIY MIDI. The possibilities are pretty much endless!
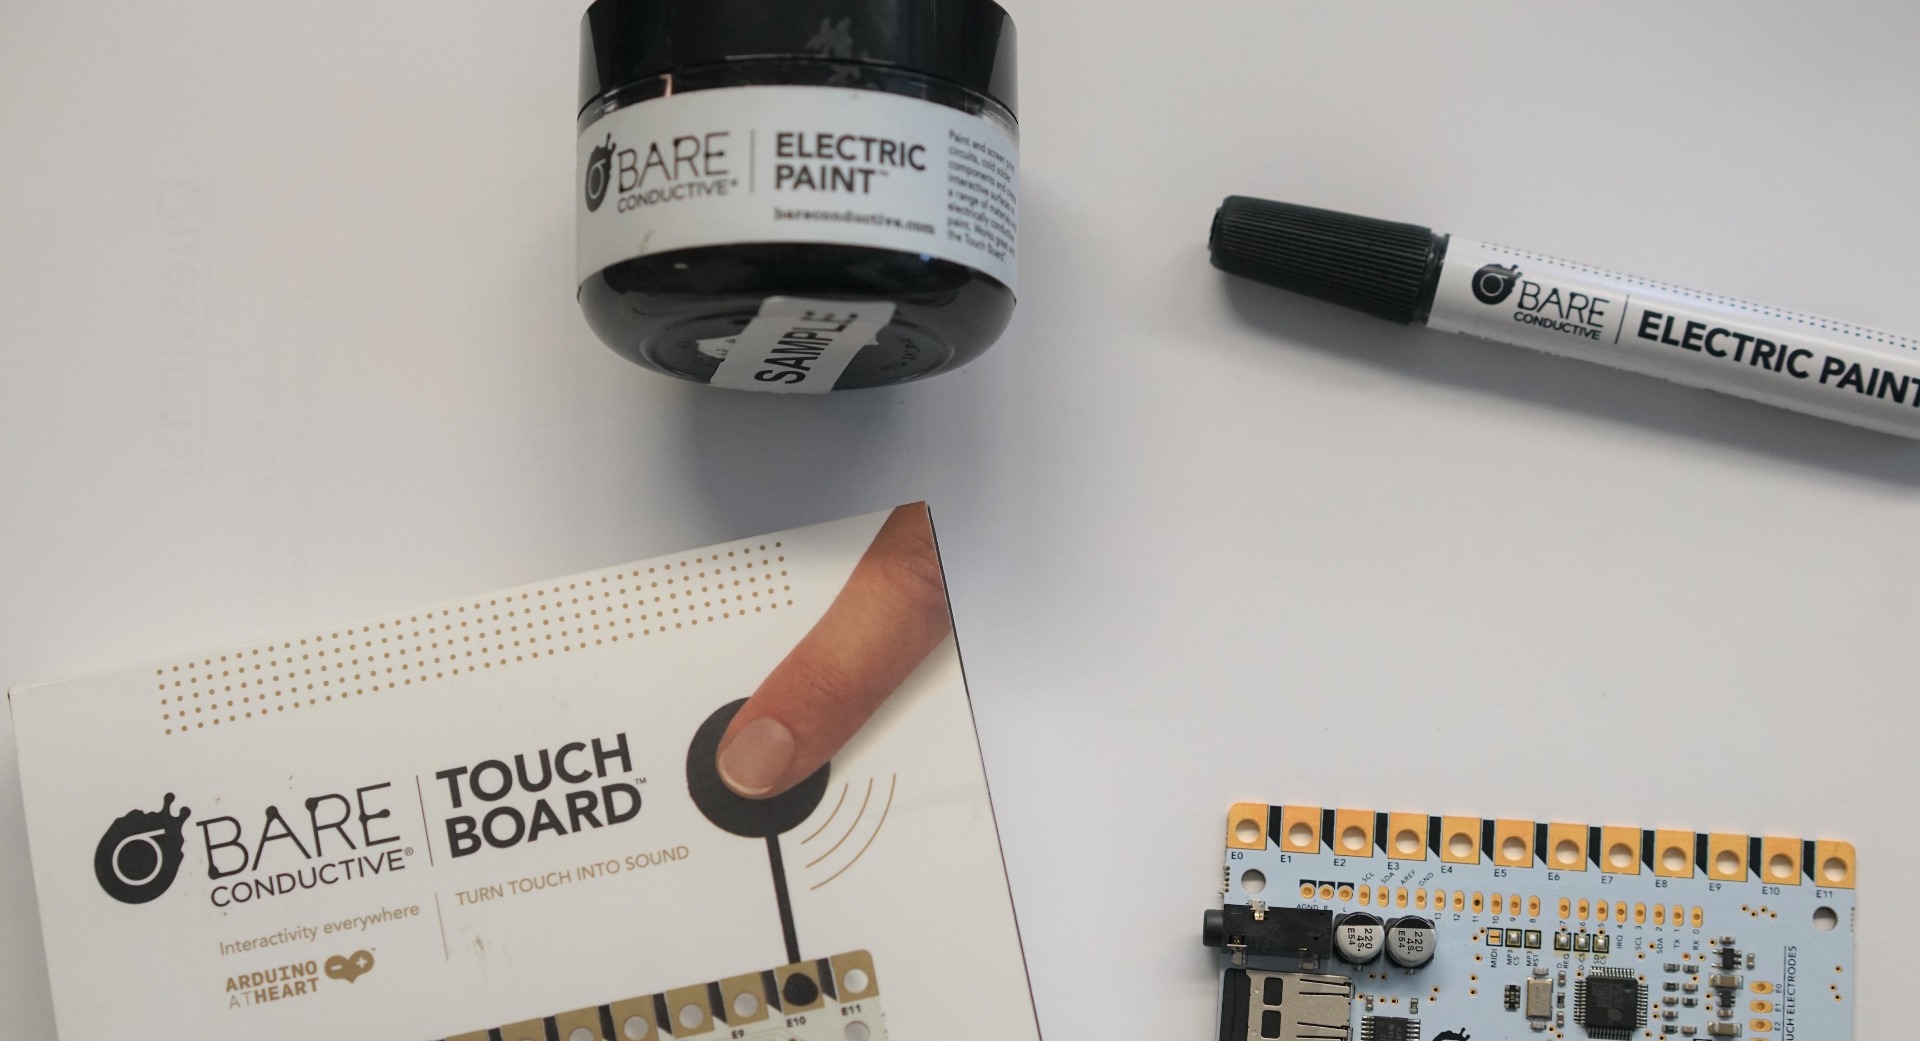
The Touch Board comes with one Touch Board and one microSD card. Other materials that students generally need to create touch sensors include a micro USB cable, a microSD card adapter, Bare Conductive’s Electric Paint (pen or jar), a small paint brush, headphones and a speaker, paper, and masking tape. In addition to these materials, I would highly suggest buying a Bare Conductive stencil as it saves a lot of time for students when setting up their sensors and makes the final product look a lot better.
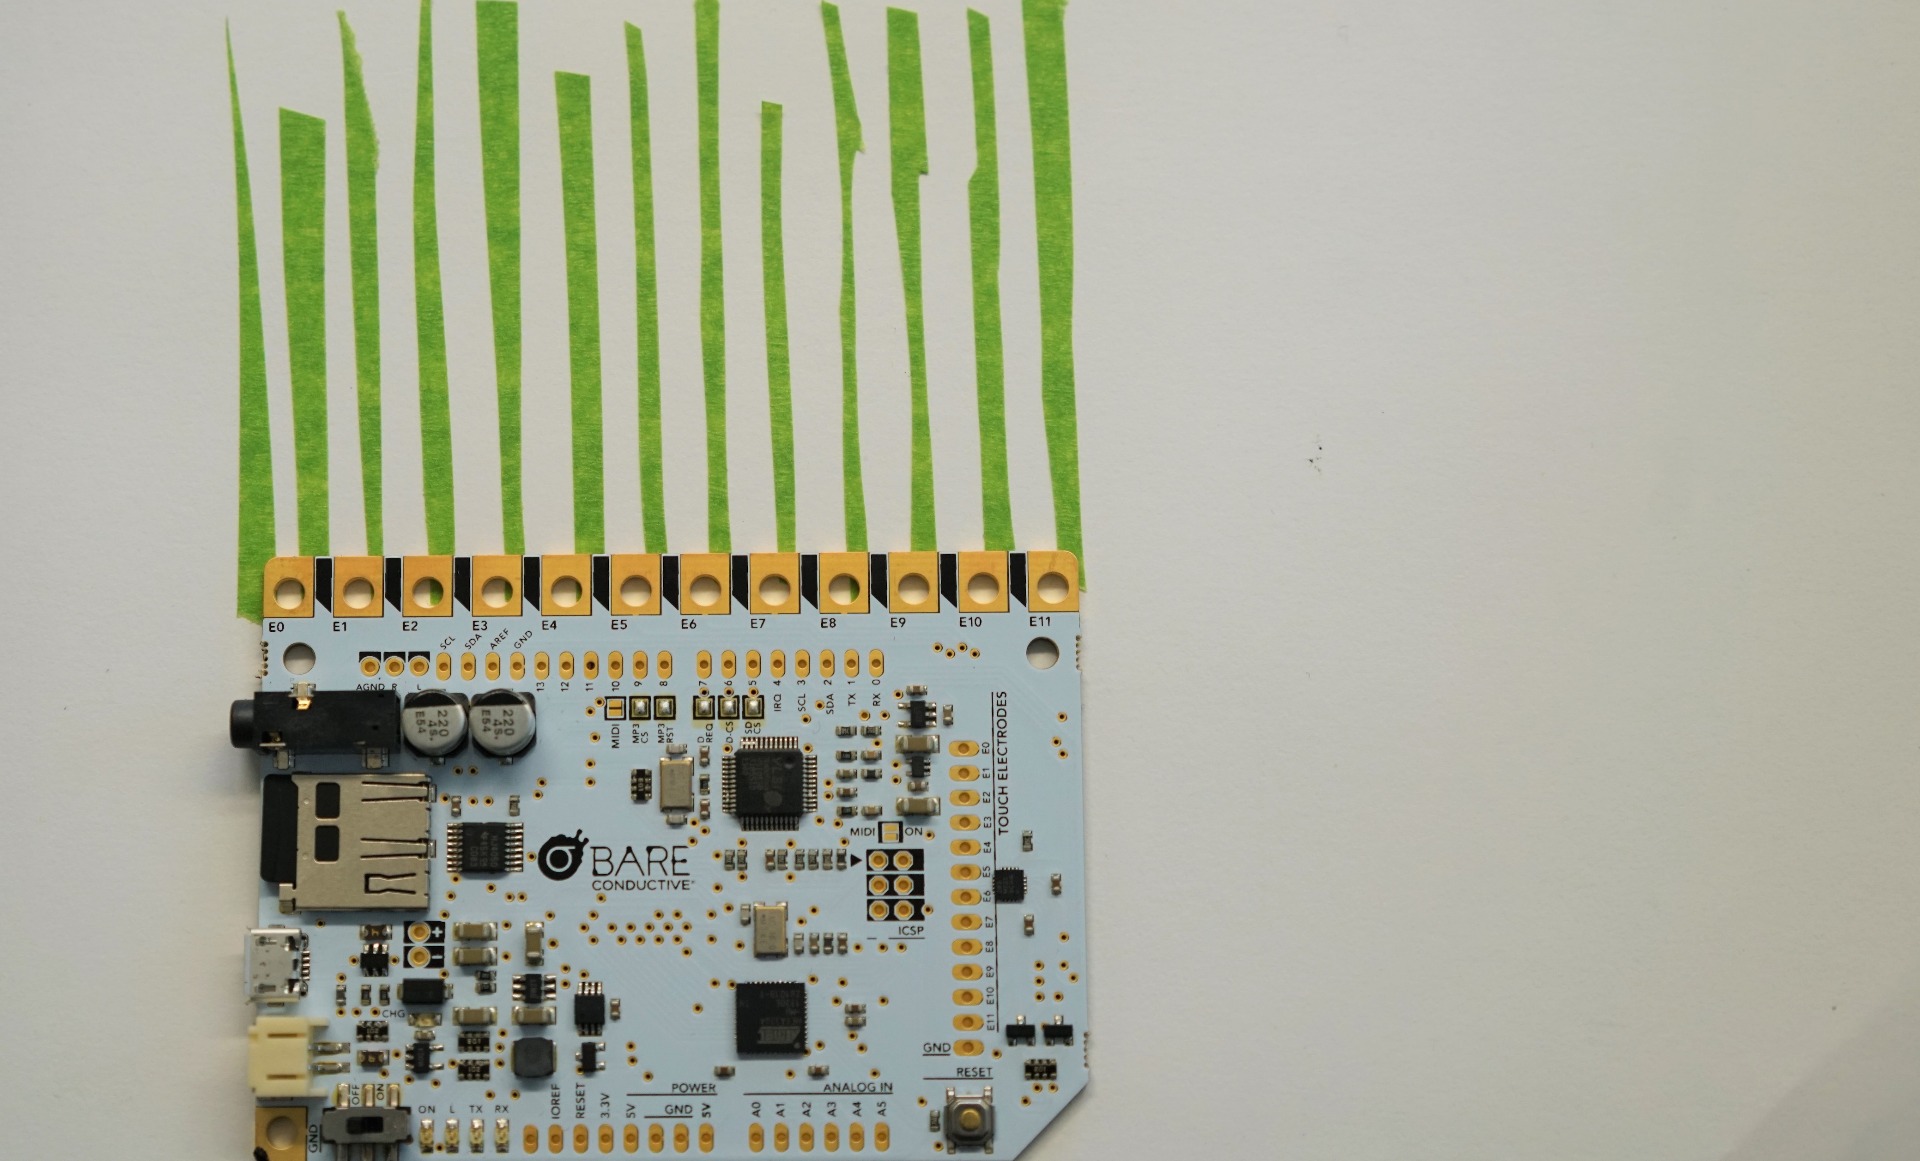
Since I didn’t know much about the Touch Board, I decided to do a quick search to see how I should start. I came upon this very helpful section of the Bare Conductive website, which I used to walk myself through all the steps of creating Touch Board sensors, from materials to how to download sounds for free (Zapslpat). Although this is a very simple interface to begin with, it can be overwhelming to look at and decipher what parts of the board do what.
The Touch Board, however, is great for allowing students, teachers, and makers to go from brainstorming an idea to executing it in an interactive and creative way. The hands-on experience makes it even more satisfying once the project is finished. One tip I do have is for students to make sure they have enough time to complete their project. It generally takes about 10-15 minutes for the paint to dry and a little longer than that to find some audio, sync it, and then download it to the Touch Board.
With that in mind, the best features of the Touch Board would have to be its versatility and ability to help students advance their STEAM skills. I just used the conductive paint, but the Touch Board challenges kids and adults alike to use other conductive materials, such as wood, plastic, and ceramic too. They can even pair the Touch Board with other interfaces, such as a Raspberry Pi and LED lights, to really expand their projects and creativity.
To grab a Touch Board and other Bare Conductive tools for your classroom, makerspace, or home, click below to visit the Eduporium store! Also, keep an eye out next Wednesday for a new Tips & Tricks blog featuring the Edison Robot. Be sure to follow us on Twitter and Instagram also, like us on Facebook, and check out our store for other innovative STEAM tools!