
Update: April 21, 2020:
The MOD-t 3D printer is no longer manufactured and its parent company, New Matter, no longer offers support for troubleshooting, hardware, or software issues. The steps laid out in this blog post—while previously accurate—are no longer viable. We recommend the LulzBot 3D printers, MakerBot 3D printers, Glowforge 3D laser printers, and also some other alternatives for the classroom or makerspace curriculum.
| Unfortunately, the MOD-t 3D printer is no longer made but, with Cura, it’s possible to keep using it. 1. Do not update the Cura software once it has been downloaded. |
The way students or makers can continue using a MOD-t printer involves downloading a special software called Cura. In order to use the Cura Software on your computer and get it to work with the MOD-t, students can simply download version 15.04.6 of Cura software from June 7, 2016. DO NOT update the software after downloading it. This version works best with the MOD-t and newer versions will not work as smoothly. Instructions for doing this simply are also below.
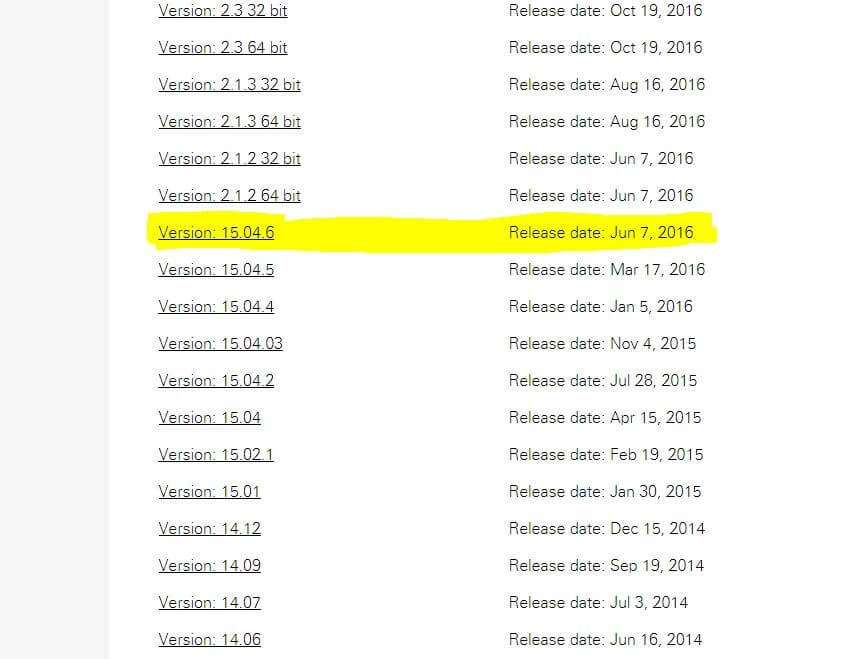
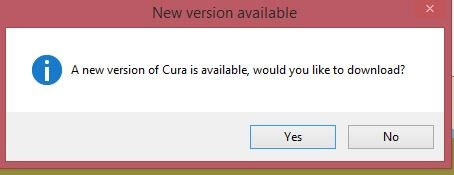
Click and download version 15.04.6 of Cura from the link above (highlighted in the above image). Install the software using the instructions that come up on your screen. DO NOT UPDATE the software for any reason. Upon install or startup of the Cura software, you will also see the window pictured below, which prompts you to update your Cura software—always click “No.”
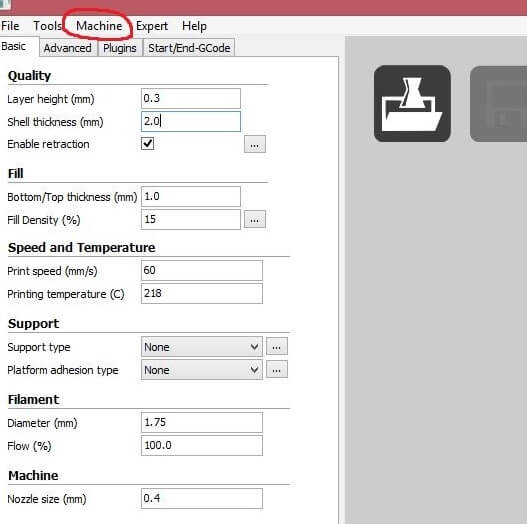
Once Cura is installed and you are able to open the software, you will see a menu on the left side of the window that looks like the image below. Go to the top left-hand corner and select “Machine,” then “Add new Machine” in the drop-down menu.
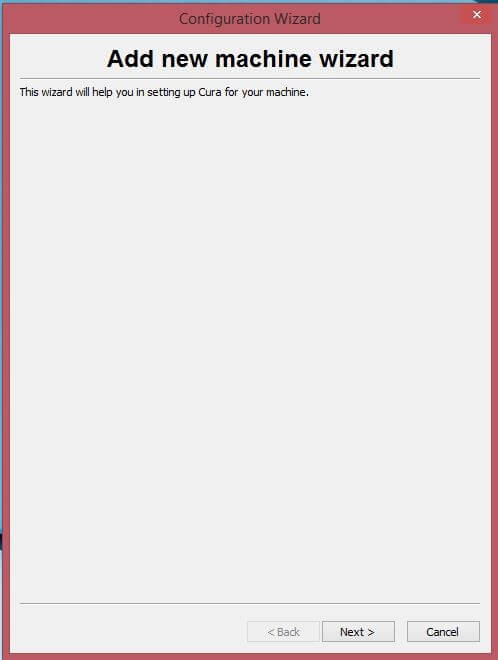
Once you click “Add new Machine,” you should see a window pop up that looks like the window below.
Click “Next” and you will then see a screen with several printer options. Select “other” as shown below.
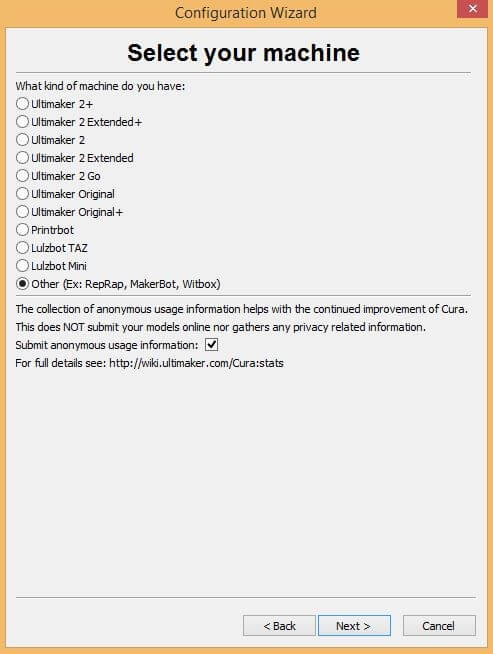
After Selecting “Other,” click “Next” on the “Select Your Machine” screen and you should then be brought to the next screen pictured below
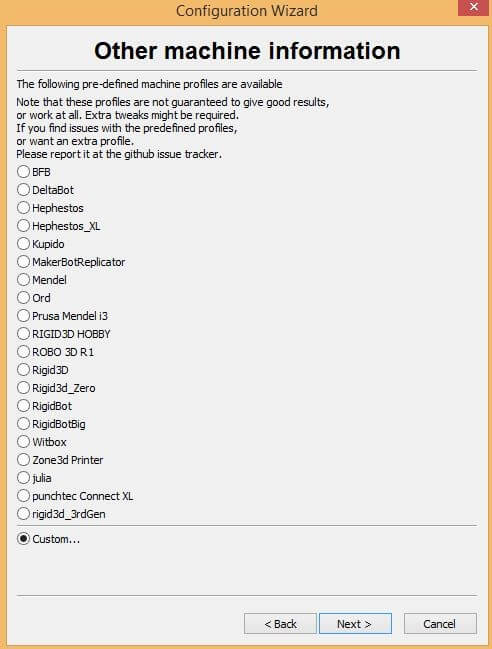
On the “Other Machine Information” screen, select “custom” and click “Next.”
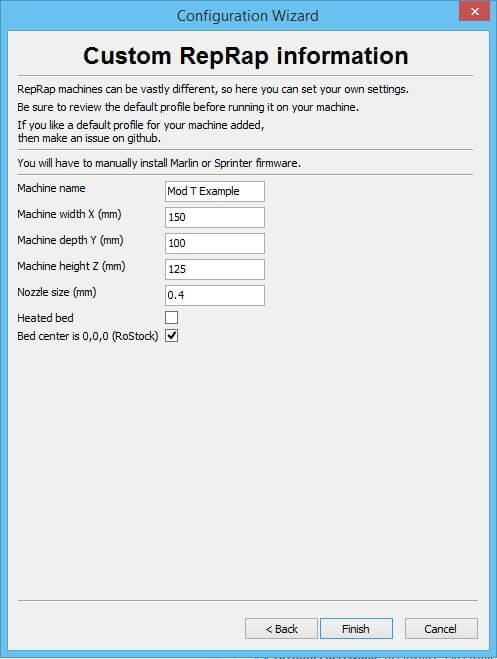
Basically, after Selecting Next on the screen above, you'll see the custom configuration screen pictured below. In the screen below, enter and select the following values as pictured:
- Name: Choose Name
- Y: 150
- X: 100
- Z: 125
- Nozzle: 0.4
- Bed Center: 0,0,0
*Enter all values in the fields reflected in image below.
Next, click “finish” and now you have completed the first main step of matching the Cura Software Printing bed to the mod-T print bed size. Then, you must go to File, “open profile,” and select the “Cura profile.” You can download the Cura profile from the link listed below and saved to your desktop.
Once the profile has been saved to your desktop, you will be able to open it by selecting “Open profile” and selecting “Mod T profile” from your computer hard drive. (The default name is “MOD-t_NM Cura Profile 151020. Ini””).
Once you have selected and opened the profile, you are ready to start!
Creating a Cura Profile:
- Navigate to the GitHub page.
- Download the text from this site into a text or .INI document.
After Configuration
Once you configure your MOD-t printer and Cura, you will be able to begin printing and designing with Cura. You will be able to drag. STL or 3D design files into the Cura window and begin to work on them! After you are done with your file design, you can save the file as a G-code and print it using the New Matter Software on your desktop computer via the Wi-Fi or wired connection.
Once the G-code file saves from Cura on your computer: Open New Matter Printer Utility. Then, go to settings in the New Matter window. Select “Advanced Mode” and Click “Print file." After clicking “Print file,” select the saved G-code document you would like to print, then follow the on-screen instructions and wait for the printer to load the file!
We certainly hope this was helpful and appreciate you checking out this variation to our Tips & Tricks series. Also, be sure to check back next week as our Eduporium Experiment series resumes with a look at the MonkMakes Rover!
| Feel free to contact the Eduporium team for our latest educational 3D printer recommendations. |
https://community.ultimaker.com/topic/29229-legacy-cura-version-150406/