
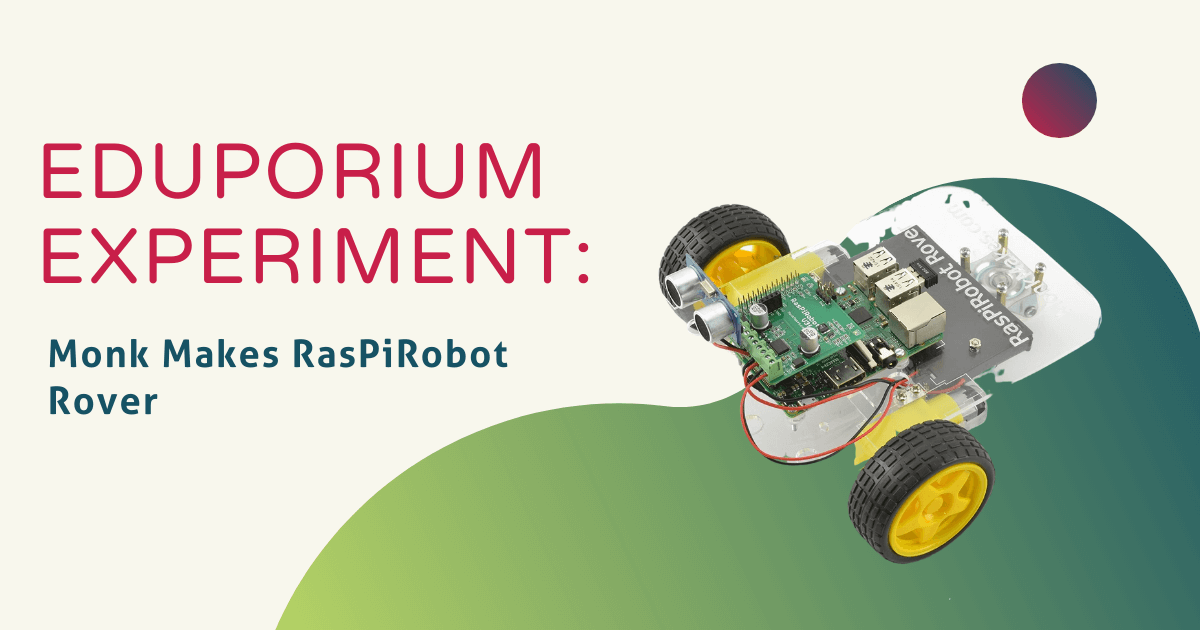
If you are looking to expand the use of your Raspberry Pi and even expose students to more programming challenges, the MonkMakes RaspiRover Kit is an exemplary option in combining computing, coding, and a bit of robotics. It’s an ideal kit for engaging students who are ready to take the next step with Raspberry Pi. Children can build inventive devices from scratch and use Python to program their very own rover for their Raspberry Pi with a plastic chassis, wheels, motors, and more—all of which are powered by this Pi. These kits don't include a Raspberry Pi, so it's perfect for those who already have one or are getting one.
Despite its fairly small size, children can really do a lot with the kit. Some basic project possibilities include blinking an LED on the RasPiRobot board, using the RGB Squid LED to light up the board, and building an autonomous rover. The kit includes all necessary nuts and bolts to build these and other STEM projects as well as step-by-step instructions. The only thing that’s a bit inconvenient is that the kit does not include its batteries, but it should be easy enough to find some since it runs on AA’s.
The kit does include:
- All screws and nuts (plus some extra bits)
- 6 AA Battery Box (Batteries not included)
- Booklet of instructions and projects
- Raspberry Squid Button
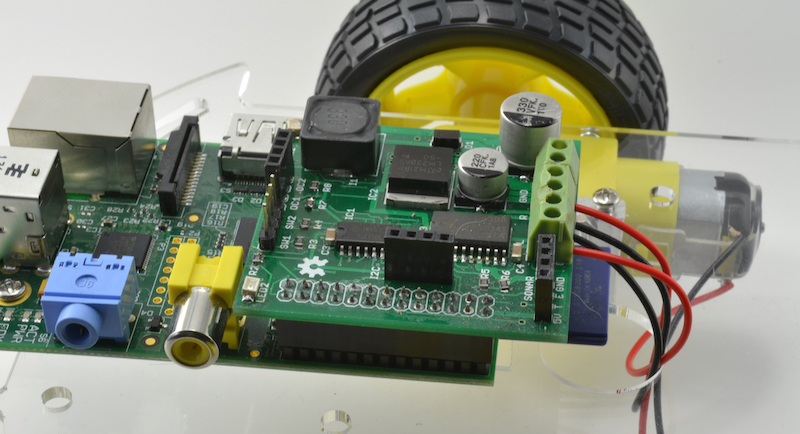
- RasPiRobot Board v3
- Raspberry Squid
- 2 Screwdrivers
- 2 Gear Motors
- Range Finder
- Car Chassis
- 2 Wheels
- Castor
The booklet also includes the following activities:
- Using the RGB Squid LED including Cheerlights on Twitter
- Blinking an LED on the MonkMakes RasPiRobot Board
- Detecting movement with the ultrasonic rangefinder
- Measuring distance with the ultrasonic rangefinder
- Using a Squid Button
- Remote control rover
- Autonomous rover
To assemble their rovers, students should start by watching this video tutorial online. There are many small parts, so we recommend assembling the rover in a large, flat workspace where you have room to lay out all the pieces. The kit also includes some extra bits for alternative or extension projects, so don’t be alarmed if you have some pieces left over. Remember, your Raspberry Pi needs a Wi-Fi connection—each Raspberry Pi 3 has Wi-Fi built in—and you will need six AA batteries. All code for these projects is on GitHub and kids can download the RRB3 library right to their Raspberry Pi.
Make sure your SD card is set up with NOOBS (New Out Of Box Software) before you get started. You will just need to set your Raspberry Pi up with a display (monitor), keyboard, and mouse to be able to view the terminal and type into it. Before you build your rover, you must also install the Python library and programs for the kit. Don’t worry, the instructional booklet takes you through all of the steps! You can make sure your connections and set up are accurate by testing the first blinking LEDs program before you start assembling the rover.
I quickly tried building a couple of MonkMakes projects and it was pretty simple to set up the components. For students who are more engineering inclined, this is perhaps the simpler aspect of the project. I thought that getting the code created in the optimal way was a bit difficult, but that could also be chalked up to not having a ton of programming experience. After a little practice (and patience), I have to say it did feel much easier and the LEDs lit up!
The MonkMakes line features a variety of project kits for the Raspberry Pi like the Servo kit and Puppet kit! Also, if you’re in need of a Raspberry Pi, we’ve got the latest and greatest on our store. While checking out our educational offerings, don’t forget to follow us on Twitter, Instagram, and Facebook, for further news and updates on the top EdTech tools and best prices as well! Come back next week to read our feature on Bloxels in our next Tips & Tricks blog, too!