
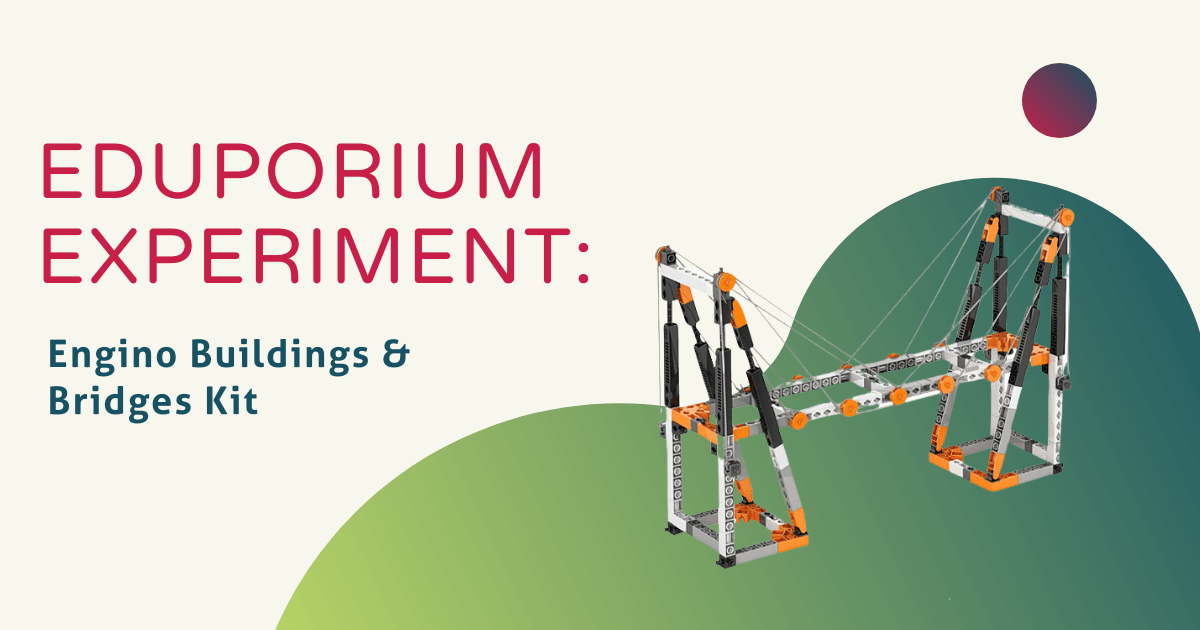
Engino has created a number of engaging and STEM-focused kits that are both enjoyable for students and affordable for educators. Among their offerings are options for elementary aged kids that include focus areas of pulleys, wheels, axles, inclined planes, levers, bridges, gears, and more. They also have a kit dedicated to Newton’s Laws of inertia and energy. For this week’s Eduporium Experiment, we opened up our Buildings & Bridges kit, which is part of Engino’s STEM STRUCTURES series. It’s a great way for students aged between 8-16 to not only build some pretty cool structures, but also learn the science behind engineering and the physics needed to ensure it's safe and sound for everyone around!
There are all different types of bridges and the guided projects kids can complete with the Buildings & Bridges kit offer them a look into the wonderful world of engineering. Of course, the sturdiness of these bridges is incredibly important for pedestrians, cars, and anyone who lives near a bridge and these hands-on opportunities help ensure students grasp the importance of sound engineering practices. Whether it’s learning about architecture, suspension, force, or other engineering concepts, the learning experiences with the Buildings & Bridges kit are highly relatable to the real world.
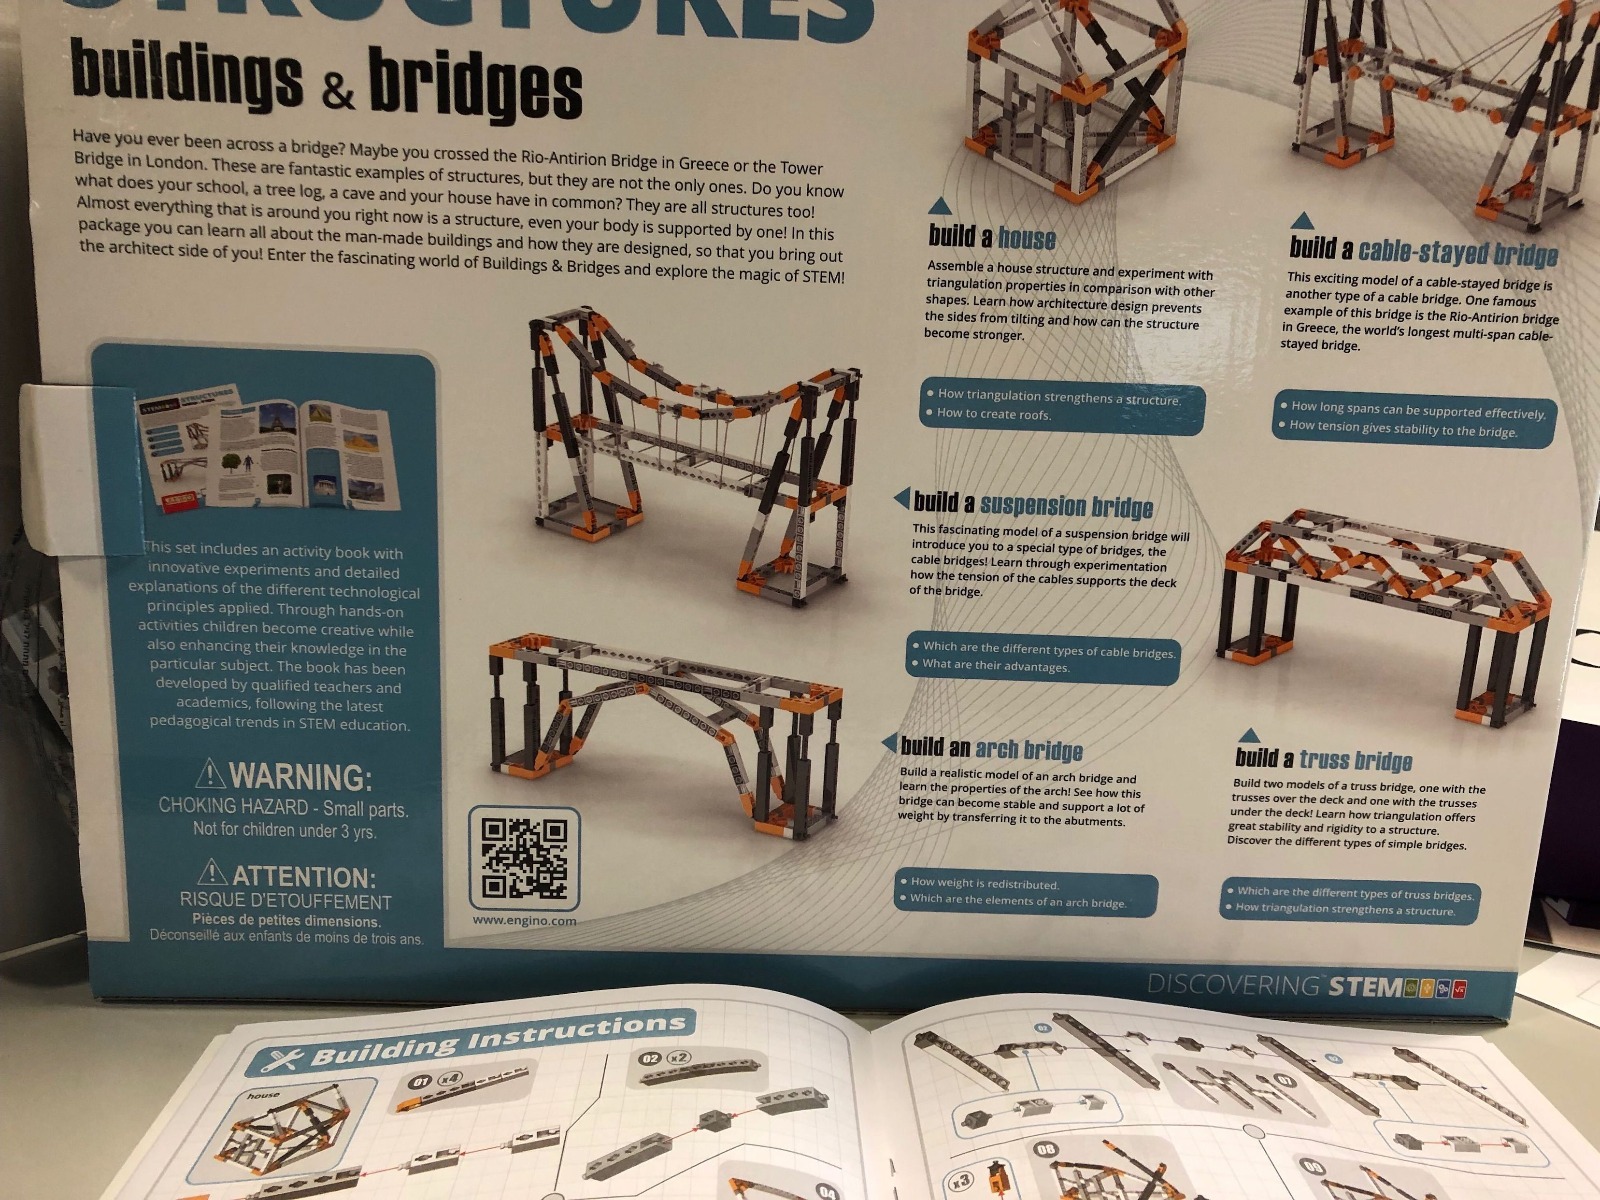
The kit comes with instructions for building nine different models, including an arch, beam, cable-stayed bridge, truss, suspension bridge, and more. The manual is also very thorough with some very interesting and helpful information on the history of bridges, definition of a structure, types of loads, types of forces, and more. It also provides blurbs about all different kinds of bridges, their complexity, and characteristics that make a bridge a bridge. The types of bridges featured in the manual include truss, beam, arch, cantilever, cable, double deck, bascule, and suspension bridges.
The pieces snap together incredibly easily and it didn’t take long for me to realize that they can be manipulated in any direction and at any angle—just like the box says! The guide book offers illustrated instructions, though not much in the way of printed instructions, which could be good or bad depending on how students prefer to read them. The illustrations, however, are very helpful and offer a clear, step-by-step idea for how students should connect each of the LEGO-like blocks and in what order to do so.
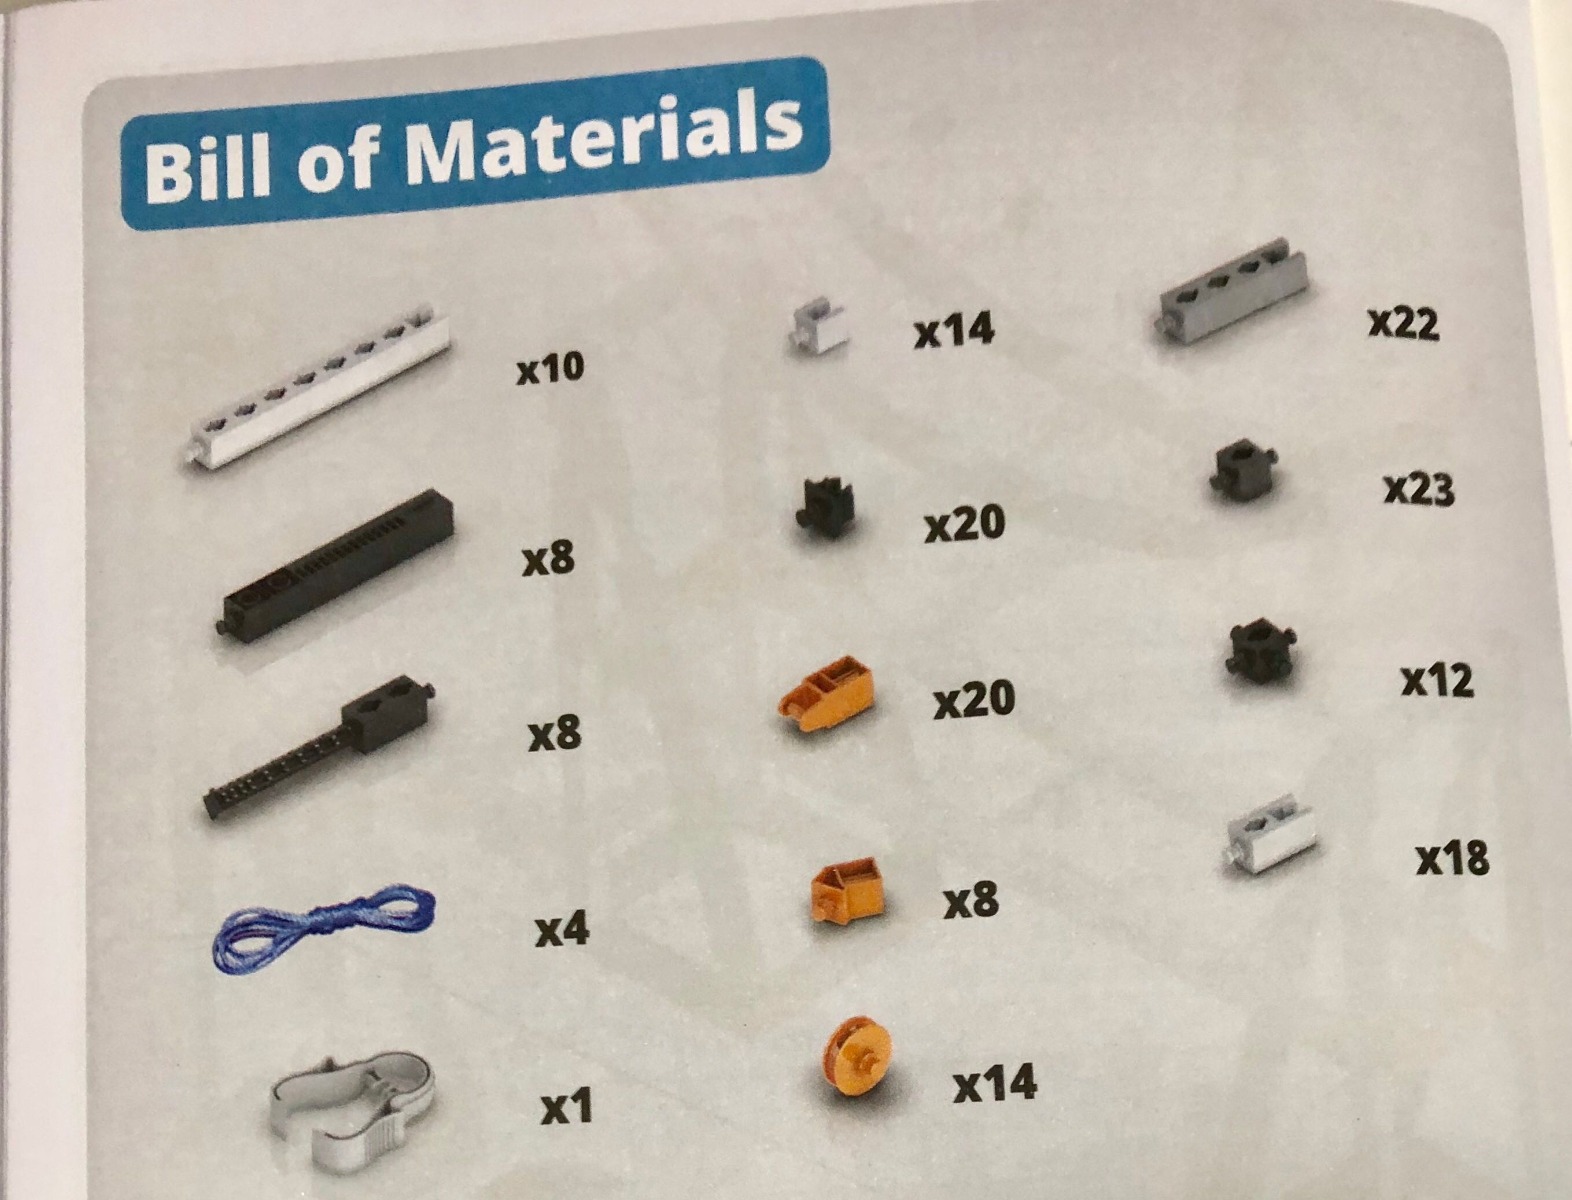
I decided I’d take a crack at building the truss bridge, which is found on page 21 of the manual. Mostly because I’d never heard of a truss bridge and partly because it has a pretty cool structural design, I figured I’d give this one a try. To begin, I found Step 1 in the top left corner of the manual and gathered the first set of LEGO pieces I needed—all eight of the skinny black ones (they don’t actually list names—just pictures of each piece. To make it easier to decipher which pieces should be used, there is a bill of materials on page 37 of the manual.
The truss bridge is actually comprised of two separate structures that eventually snap together easily. After building the base of the bridge first (like any good engineer), I started constructing the top section. Once I got that potion of the bridge built, I connected the two and actually got something that looked like the picture in the manual! It did take a bit of time to build, but I would say it’s definitely something that could be accomplished in one (maybe two) class periods. The best part is it’s a lot easier to take the bridge apart than it is to put together, so, once students finish building one structure, they’ll be able to dismantle it and go on to the next one with ease!
I’ve seen a lot of EdTech kits, tools, and devices over the last few years and I can honestly say that I have not seen a manual like the one in the Buildings & Bridges kit. The step-by-step building instructions are pretty thorough (more so than in other STEM kits), but what really impressed me were the sections that described the engineering aspects of the different types of bridges and the history of bridge building.
On top of that, there are also quick activities students can complete within the booklet before beginning the experiment, which help give them more background knowledge and engage them in the activity they’re about to do. These, unfortunately, can only be completed once, however, unless students used pencil, wrote lightly, and were able to erase their answers. Either way, it’s a very interesting way to grab their attention and one that we assume we’ll start seeing in more and more STEM kits.
All in all, building the truss bridge was challenging, but not too difficult. If I’d had more time, I would have liked to try building another model and compared how the difficulty level varied from one to the next. Maybe next time. I would say that the Buildings & Bridges kit is definitely worth an add in elementary STEM or science classes due to its hands-on nature and the possibilities for engaging kids right away. To grab one of these kits or any of the other kits made by Engino, head over to our store! And, be sure to look out next week when our Tips & Tricks series returns with a look at the Root robot! In the meantime, follow us on Twitter and Instagram and like us on Facebook for more EdTech Tips & Tricks!