
| The databot is a small, sensor-filled cube that constantly collects data and, when paired with Google Science Journal, helps students engage in amazing STEM experiments. 1. It’s compatible with both iOS and Android devices. |
With so much data filling our world—and the immediate environments around us—it can be hard to conceptualize just how much there is to explore. With the databot, however, students can try to do just that. This tiny cube fits in the palms of their hands and helps them explore the hidden world of data in an incredibly powerful way. Fitted with a dozen on-board sensors that constantly collect and measure real-world data, the databot is designed to make STEM experiments completely authentic. In this installment of our Tips & Tricks series, we’re exploring some of the most helpful hints teachers and students should know for using it!

The databot can be used with both iOS and Android devices and be set up in as little as 60 seconds. It comes with a few different components in each kit and a slew of on-board sensors. Each kit comes with the corresponding amount of cases for the robots, mini USB cables, an 8GB microSD card and card reader, a Velcro plate, an external temperature probe, and, of course, the databot itself.

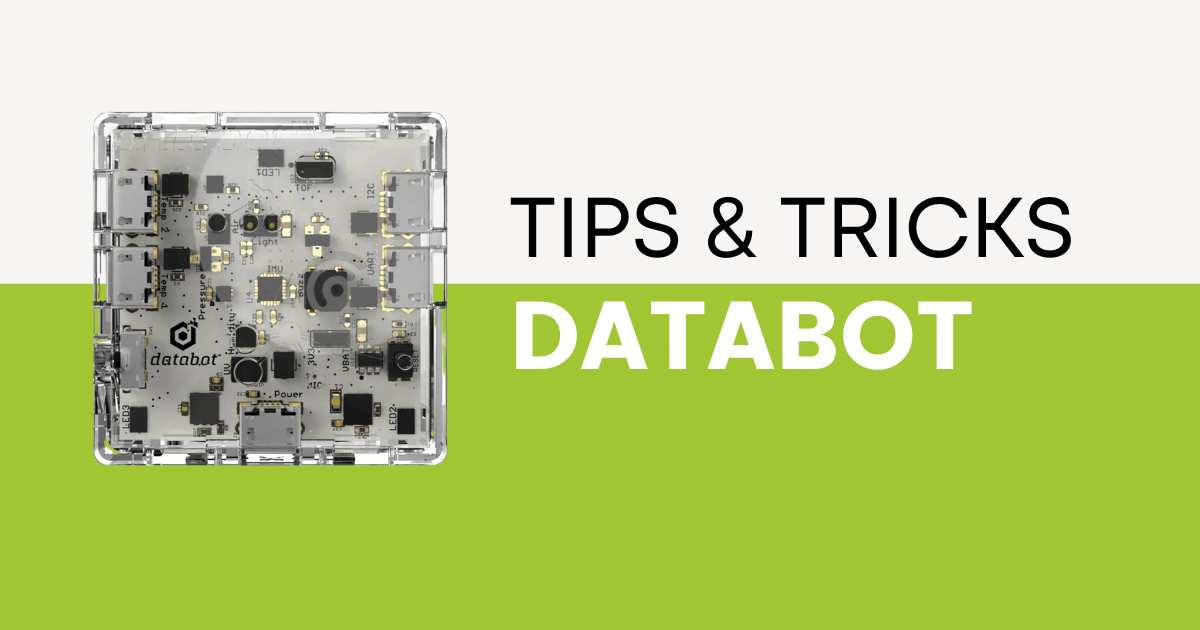
The topside of the databot displays its I2C expansion port, on/off switch, analog/digital I/O port, external temperature probe, and mini USB ports. Its front face includes its microphone, lux, and UV sensors as well as the TVOC and CO2 sensors. Looking at its left side, you’ll be able to see its internal boards, which include the main sensor board, power board, memory board, and BLE and I/O board. From the rear, you’ll be able to see the BLE and I/O board up close—the component that enables wireless connection with other devices.
On its right side, there’s the power board with two flashing lights: A blue flashing light means the databot is receiving data and a green flashing light means it is transmitting data. Finally, on the bottom, you can see the databot’s rechargeable battery (silver and gold), which can last up to several hours depending on how much power you’re using in experiments! Find more details about each side of the robot here.
Once you explore the physical components of the databot, it’s time to get it set up! The first thing to do is to make sure the databot is charged up and the, once it is, it’s a good idea to follow the instructions in the video above. Download the Phyphox app (sensor software) onto your mobile device. Open up Phyphox and point it at the QR code below to scan it and unlock a world of experiments. Tap the CO2 icon to select the correct device and tap the play icon to display data! These steps can be found in more detail here.

The next important component to in experimenting with the databot is Google Science Journal. This application is essentially a digital notebook that students can use to view, record, analyze, and share data from the databot. It can be accessed with an iOS or Android device and steps for configuring it on Android devices can be found here. Note that, if you received a databot before April 2020, it was pre-configured to work with Google Science Journal.
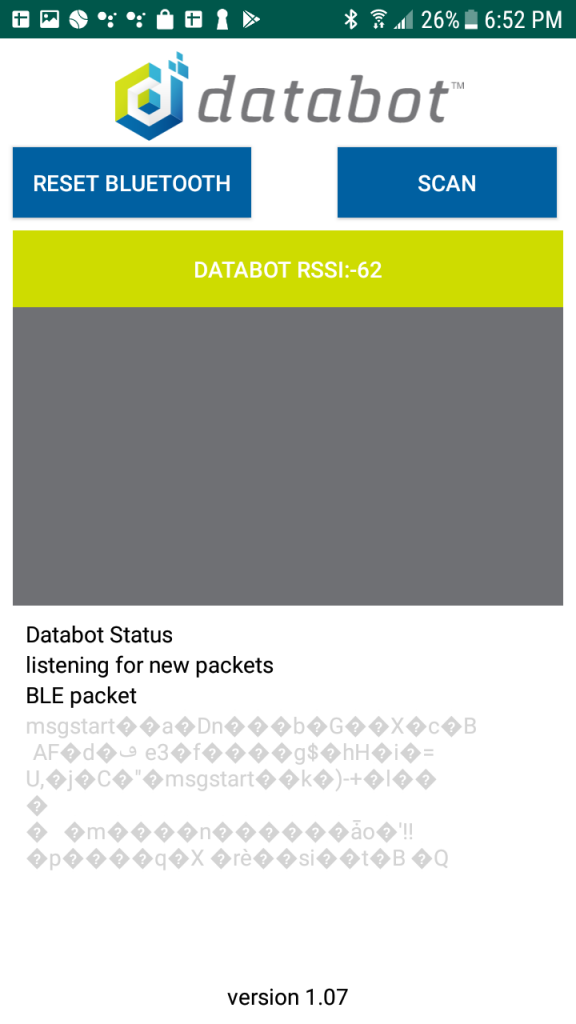
To install Google Science Journal, search for it in the iOS or Google Play store. Once installed, you’ll also need to download and install the aRduino Link by aRbotics app, which allows the databot to communicate with Science Journal. As long as the databot is fully charged, you can then connect it to the aRduino Link app (if the databot’s light is blue, it is available to connect). Once connected, the screen on the mobile app should look like the one below! From there, you can create, name, and save experiments you do with the databot and Science Journal!
The databot is a powerful computer science tool and we hope this blog have given you some insights for how to get started efficiently. To access the different kits on our store, click below! If you’re looking for some more info on the databot or perhaps a specific project to try, check out how to integrate the databot with the Sphero RVR! If you have any questions about the databot or setting it up, feel free to contact our team and make sure to follow us on Twitter and Instagram for more EdTech Tips & Tricks!