
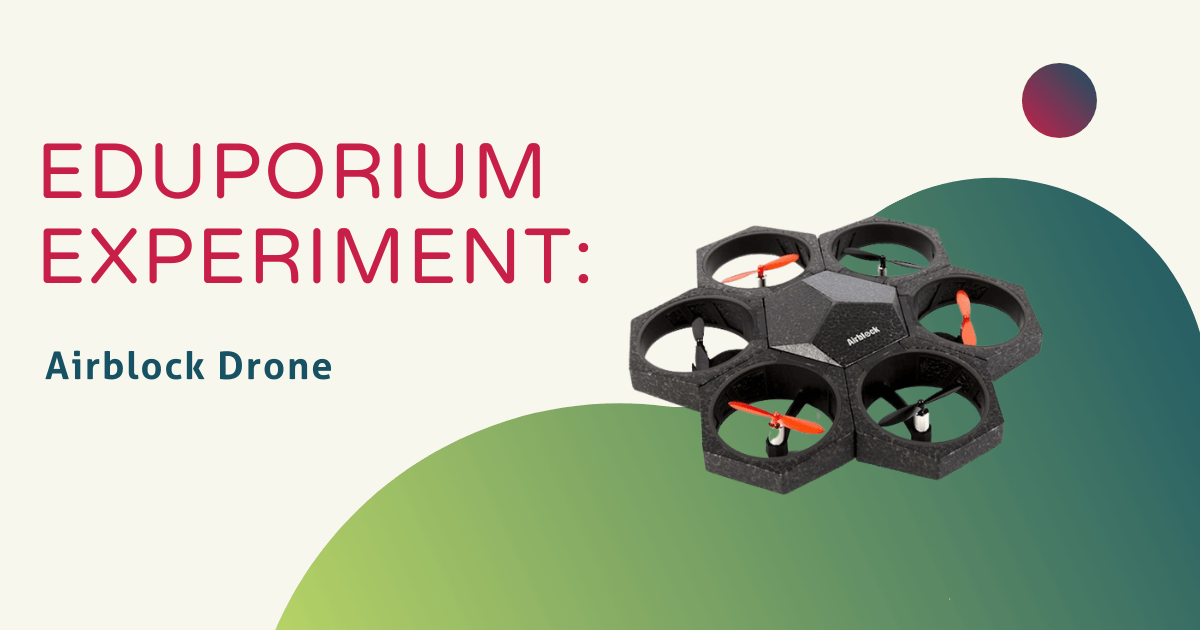
Drones are definitely one of the coolest ways to engage kids in STEM education. As industries in our economy are coming to rely more and more on this technology for safer and more efficient operations, drones are becoming common in today’s world. When they first started being used in education a few years back, teachers would leverage drones to simply teach students about flight safety, FAA regulations, how to fly it, and how to take photos and videos. Now, fast forward a few years, and educational drones have another cool component to them—a lot of them are programmable. The Airblock drone from Makeblock is one of those programmable drones and, in this week’s Eduporium Experiment, we take a look at its functions, abilities, and uses in education!
Besides being programmable, one of the coolest things about the Airblock is that it can take on different shapes. It’s modular and students build it themselves, customizing its appearance in one of three different styles. Students can build their drone in the shape of a triangle hovercraft, spider, or 360 spinner depending on how they align the six interchangeable modules that it’s made out of. The six modules can be attached to various parts of the drone’s main frame and, once secured, provide it with a sturdy base for flying.
The Airblock kit comes with the main control module, the six replaceable modules, the hovercraft base, a charger and battery holder, the battery, a charging cable, and 10 protective covers. One of its other cool features is that the blades of the Airblock are not exposed, but rather partially hidden underneath its surface, so that it’s completely safe for kids to use. The Airblock can fly for approximately six minutes on one full charge, though it might be best to make sure your flight ends slightly sooner than that just in case it runs out of power while still in the air.
Following the Airblock’s instructions, I was able to experiment with some of its basic functions, including getting the drone to rise, fall, advance, retreat, and move from side to side. There are two ways to control its movements—connecting a device to the drone via Bluetooth or using the joystick feature that appears within the Makeblock app. The app is available for download on iOS and Android devices. Once I downloaded the app, it was really easy to get started. I simply had to open it, select which Makeblock tool I was using, select the mode I wanted, and then choose what I wanted to do. Of course, I opted to build a program for the Airblock and got right to working on that!
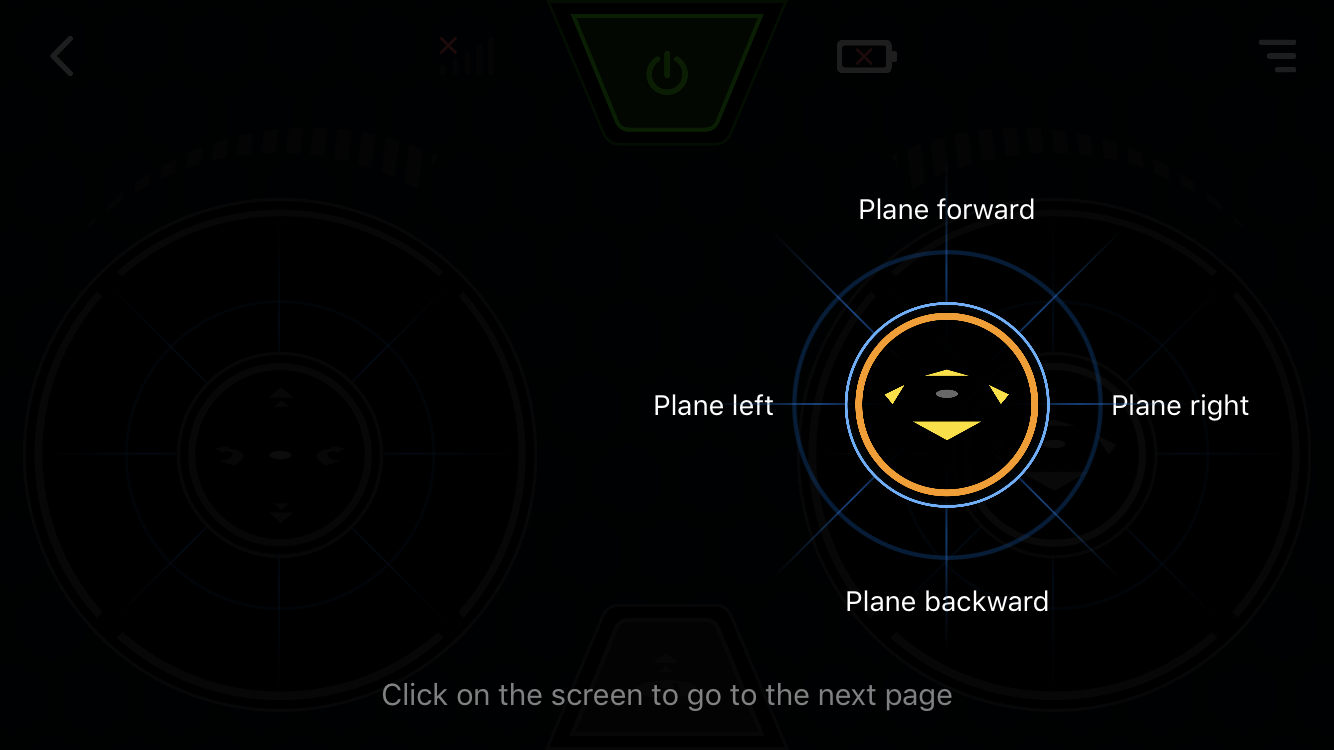
Within the app, it’s easy to turn on the drone and start flying. Students can use the joystick to ease into flying before they start building their programs, which is exactly what I did to get started. Once they’re ready, building the programs is as simple as dragging blocks of code into the programming field and creating any custom sequence of movements they want! The Airblock is also very easy to build as I quickly attached the six modules without any issue at all. It’s easy to take apart and alter as well—something that provides plenty of opportunities for freedom as students fly and program.
With Airblock, kids can experience graphical programming without the need to have any prior coding (or flying) experience. I only flew it for a short time, but the Airblock can be used outdoors (as long as you’re safe and away from streets and structures) or inside if the ceiling is high enough. It didn’t take me too long to get comfortable with the drone’s speed and power, which are each pretty ideal for use in an educational setting. And, of course, the fact that kids can learn about coding as they design programs that control the drone’s flight is a very cool and beneficial aspect of Airblock!
We also have other drone models on our store, so be sure to check those out as well! In the meantime, don’t forget to follow us on Twitter and Instagram and check out the rest of our blog for more EdTech news, reviews, and tips!