
What started as a weekend hobby has now expanded into a home and business robot design and creation company and Slant Robotics got its proper beginning when its founder, Gabe Bentz, showed off the robot arm he had made to several teachers in his area. Being robotics- and technology-minded, these teachers were interested in implementing Arduino robotics in their classrooms, but found it to be prohibitively expensive.
Bentz saw an opportunity here: make a simple robot arm that was affordable but still complete enough so that more than one could be used as teaching tools in the classroom. After a large number of requests rolled in, Bentz sought funding for a fleet of equipment with which to produce his affordable, 3D-printed robotic arms. Thus, the LittleArm was born.
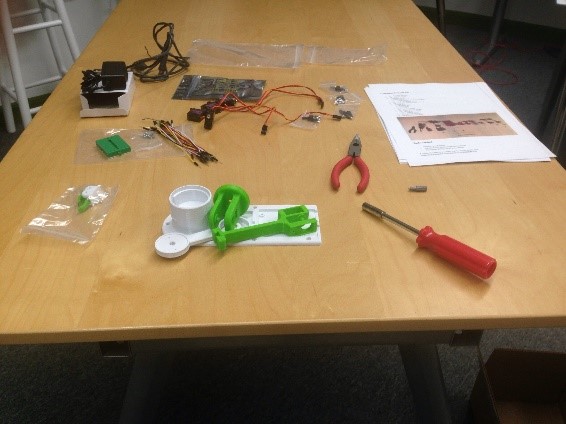
Here at Eduporium, we recently acquired our own LittleArm, and I was quite eager to put it to use. I sat down with it for today’s edition Eduporium Experiment, eager to see what this little robot had to offer. In addition to the seven 3D printed pieces, the box also contains an Arduino board, a breadboard, four servo motors, 15 jumper wires, a wide variety of screws, and two connector cables. With the pieces all laid out and the necessary assembly tools collected, I sat down and set to work.
The LittleArm offers an instruction manual and a video on their YouTube channel as a how-to-build tutorial. I personally chose to use the video since I felt it was more clear about which screws to use in which places, as there are several different kinds included in the kit. The narrator of the video was very skilled at building the robot and giving instructions, so I found I had no trouble following along. The process took me about an hour and a half, with all the screws, servo horns, motors, and wires that needed to be delicately put together.
Several of the pieces need to be forcibly slid together, and I was delighted to see that although I was nervous about the pieces breaking, my concern turned out to be pointless, as the 3D printed pieces are quite durable and resisted breaking despite the amount of force I needed to use. The instructions were very thorough, and I soon had a completed, working robot.
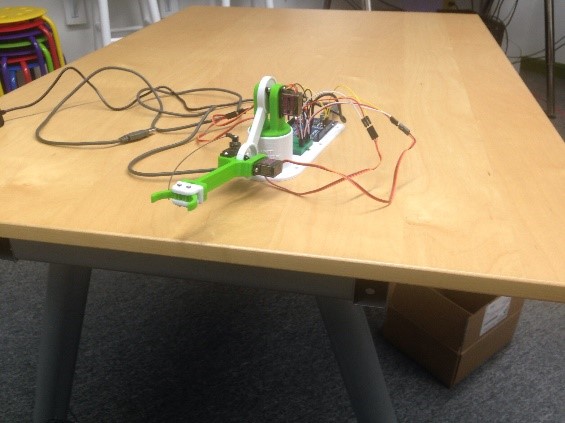
With the LittleArm fully assembled, I set to work operating it at my desk. I connected it to my computer and started by playing around with the basic functions of the software, which has sliders that control the base, shoulder, elbow, and grabber servos of the LittleArm. The software allows users to save specific positions in a row, effectively creating a short, complete program for the robot to perform on command. I placed a spoon in my mug, left it near the arm, and began teaching the robot how to pick up the spoon, turn around, and give it to me.
Once I had programmed the sequence of actions in to the robot, I ran it a few times without the spoon as verification, then with the spoon as a final test of the arm’s capabilities. I learned that the LittleArm is very precise, and if I left the spoon in the wrong starting place, even a couple millimeters off from where I had it the first time, the arm would miss it. Over the next couple of tries, I became very good at putting the spoon back in exactly the same spot. Sure enough, once I had done this, the LittleArm was able to pick it up, turn around, and drop it into my waiting palm.
After my experiment, I was left with the impression that the LittleArm is an excellent little Arduino robot that would be fantastic in a classroom or home setting. Its included software was pleasantly intuitive for those new to robotics to use confidently, and, due to its Arduino capability, it can be programmed with more traditional code by those who are more experienced. An excellent an affordable tool, the LittleArm is sure to be a fun and educational addition to any STEAM or maker-minded classroom.
If you have an idea for a product you’d like to see featured on the Eduporium Experiment, let us know! Comment below or send us a message on Twitter or Facebook!