
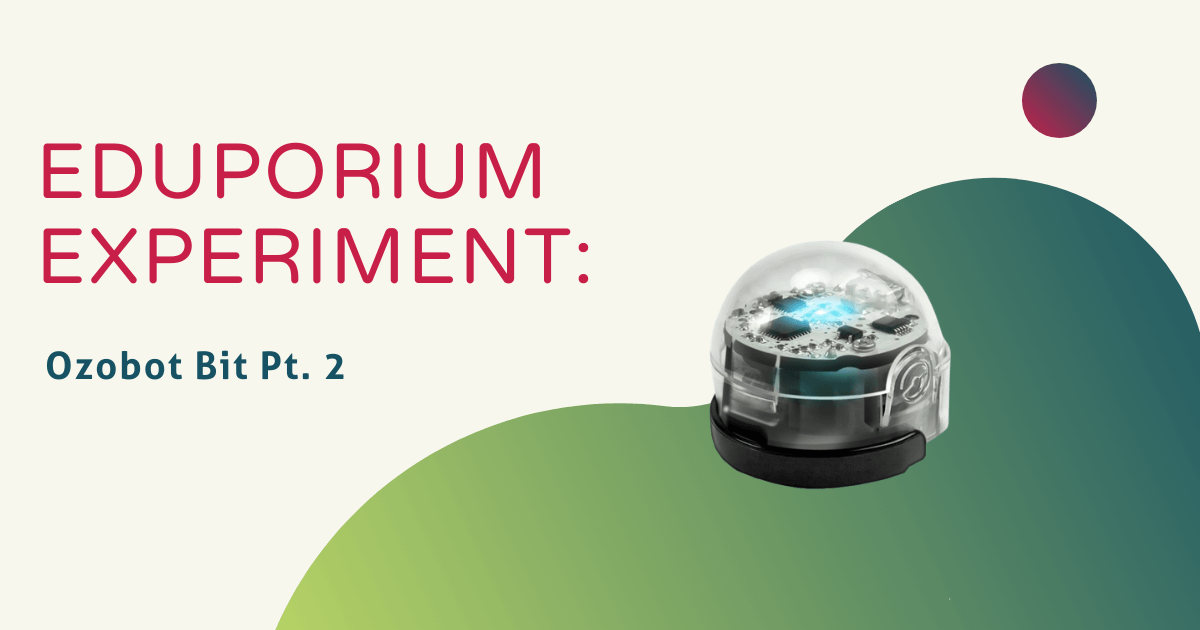
Today, I experimented with one of our most popular STEM learning tools, the Ozobot Bit! Although intended for kids aged 6-10, the original version of the Ozobot can help teach students of all ages thanks to its versatility and the range of different things children can do with it. Beginner students can start by experimenting with color coding using easy-to-understand OzoCodes and then build their way up to using OzoBlockly, Ozobot’s online, block-based editor for drag-and-drop programming.
The color codes are very simple to use and kids can even create them themselves. Ozobot comes programmed to recognize hundreds of different color combinations and translates these codes into actions. A code of red-green-red, for example, could mean anything from speed up to stop completely. When the Ozobot is placed on a solid line, it will continue on that line until either the line ends or it recognizes a code like this.

Students can also build their own programs online, load them onto their Ozobot, and watch the Ozobot complete their program without needing to be placed on a line! This program (called OzoBlockly) offers five stages that progress in difficulty, introducing students to new programming concepts in each stage and allowing them to fully control their Ozobot’s movement and behavior!
We reviewed the Ozobot Bit on the Eduporium Experiment many, many months ago. Now, armed with some new knowledge, we thought it was time to revisit this experiment and try some new things while exploring some of the other possibilities it affords in the classroom. Drawing on what I learned about the Ozobot on what was probably my first day at Eduporium, I got started and expected to learn even more.
One of my favorite things about the Ozobot is that it can be used to teach not only robotics and programming, but other STEAM concepts, too. There are tons of resources on Ozobot’s site, including educator guides, tips, references, and starter lessons! For this experiment, I watched a tutorial online about getting started with OzoBlockly. I opened OzoBlockly for Bit, selected Beginner mode, and began creating my own program.

There were different options to add movement, light effects, timing, and loops to my program, which is a pretty creative way to mimic the programming process for younger kids. I also noticed that there were more options available in the higher stages, such as line navigation, logic, terminate, math, variables, and functions. I decided to make my Ozobot complete zig zag movements while flashing rainbow colors three times and then skate very fast backward seven times while flashing like a Christmas tree!
Before I could load the program onto my Ozobot, I had to calibrate it, which is super easy to do. You just place the Ozobot on the large black dot that comes in the box and is known fittingly as the calibration card. Once loaded, I was able to easily run my program by just powering the Ozobot on! It was exciting to watch my Ozobot follow the code I created and I can imagine how gratifying and empowering it would be for younger students to do the same!
I found the programming software to be extremely straightforward and, more importantly, fun! The instructions were easy to understand and the display on the Web-based OzoBlockly program was clear and inviting. It’s pretty apparent why this product is so attractive to both teachers and students. Not only is the Ozobot tiny and easy for small hands to hold, its versatility in use is unbeatable. Whether you want to introduce basic color programming through drawing or work on more advanced graphical programming skills with OzoBlockly, the Ozobot Bit has it all!
Although, tiny, it definitely is mighty! To grab an Ozobot robot of your own, head over to the Eduporium store. And, look out next Wednesday for the newest edition of the Eduporium Experiment coming at you a week from today! In the meantime, don't forget to follow us on Twitter and Instagram for more and you might as well like us on Facebook, too!