
The GoPiGo Robot is a very versatile option for integrating both engineering and programming into STEM instruction. As is common in K-12 education, robotics is a popular way of furthering STEM experiences and the GoPiGo is a great example of how that is done. Since students are able to construct the GoPiGo themselves, it makes for a very engaging educational experience. Once they get it built and set up, students can also program it using Python or the Bloxter language.
There are a few different GoPiGo kits, which are all found on our store, but the Beginner Starter Kit is the most basic option. In the box, students will find everything they need to get started and, for GoPiGo, getting started means building the robot. The parts include a Raspberry Pi 3, a servo package, a distance sensor, a microSD card with the DexterOS software, a USB drive, and a power supply module.
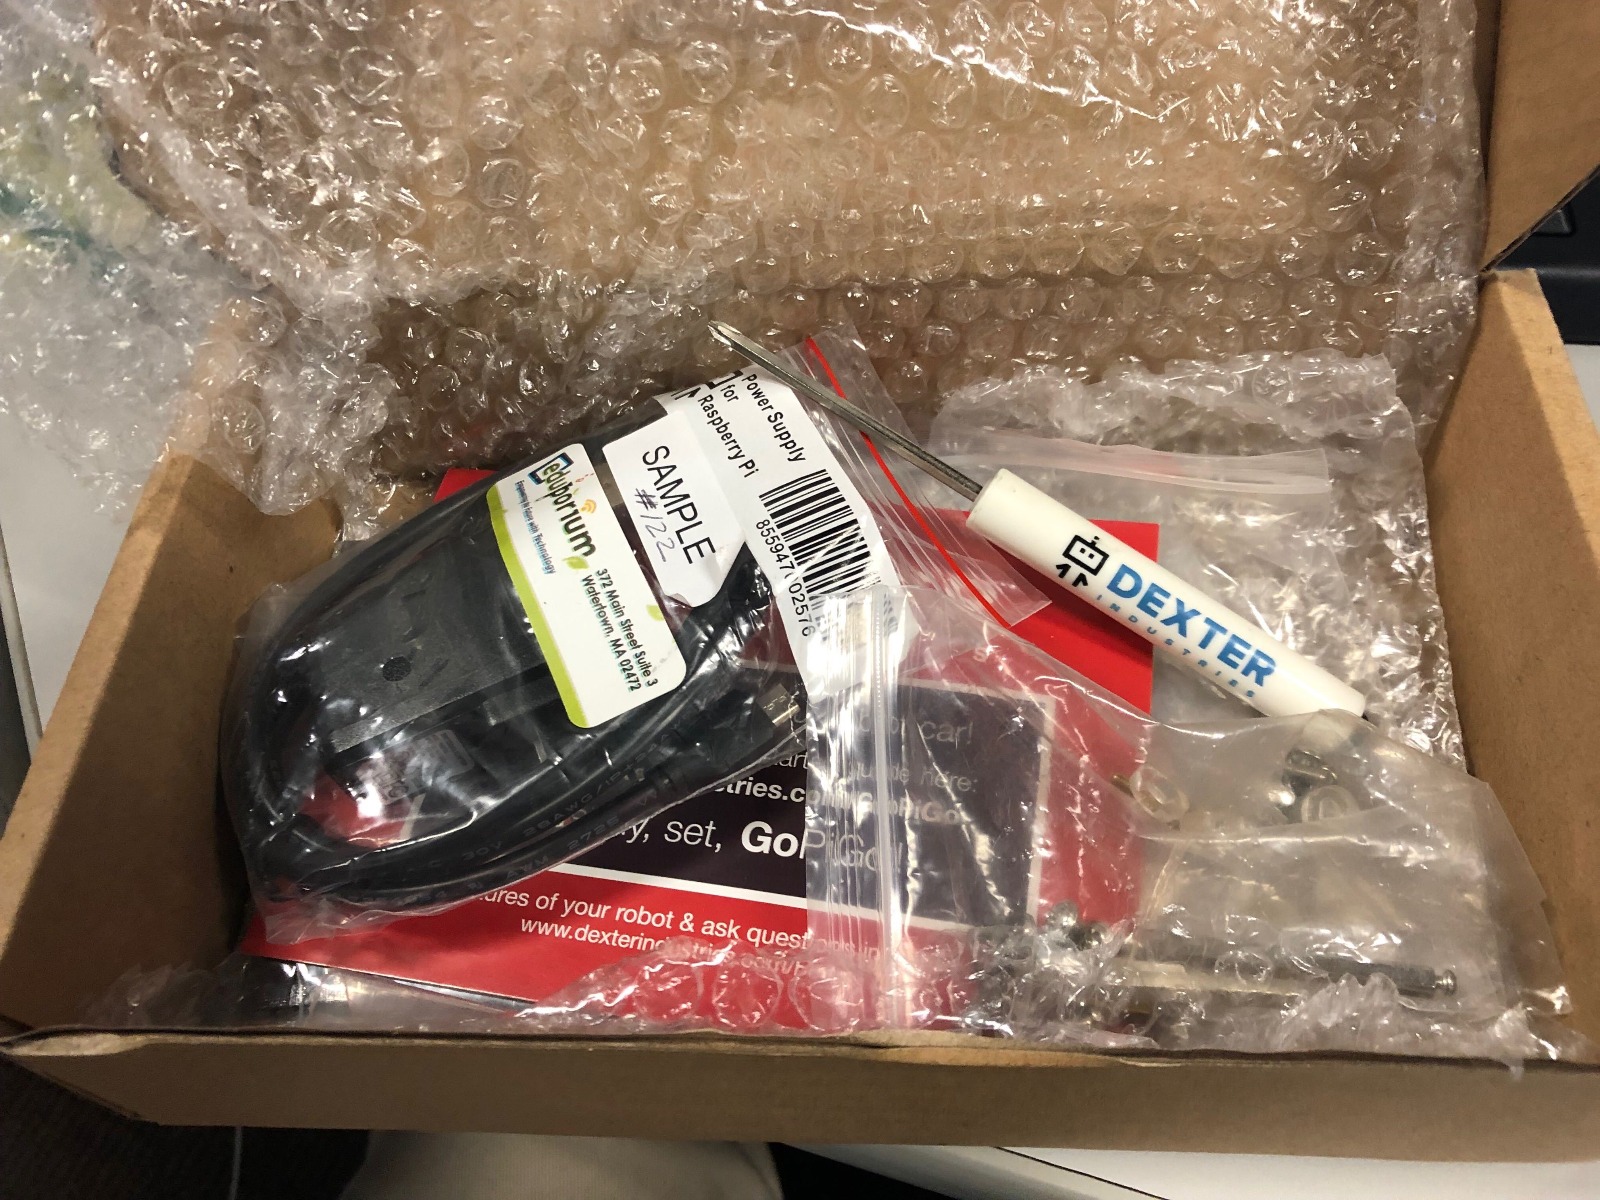
I noticed pretty much right away that the pieces are very sturdy and solid and actually pretty heavy. Once I built the robot, it was about eight inches long and about five inches tall, but it ends up being fairly heavy due to the weight of the components needed to build it (nothing to shy away from, however). Once built, the robot needs eight AA batteries to run and those are, unfortunately, not included. The final piece of my assembly was the USB drive, which slots right into the Raspberry Pi. It could take up to an hour to completely assemble the GoPiGo, but it’s a great learning experience for students. It's also a cool way for them to practice engineering and problem-solving skills.
To get started, there's a small, black power button beside the red microcomputer near the top of the robot. Turning that on will illuminate the robot’s lights and then you’re ready to go. The next thing I had to do was download the Bloxter programming software. This software was created by the Dexter Industries team, the manufacturers of the GoPiGo robot. It's a very engaging way for students to learn about programming. After I got everything set up, I was ready to try creating my first program.
The interface within Bloxter is pretty user-friendly and students can build programs using drag-and-drop blocks, like with other programming environments. You’ll need a device that can connect to Wi-Fi in order to pair it with the GoPiGo. For this reason, laptops, tablets, or smartphones work best for programming with GoPiGo.
On the Bloxter page, click the link under the section titled ‘Free to Download.’ Then, on the next page, click Connect GoPiGo. This brings you to the setup page with a checklist to ensure you connect the GoPiGo to the device correctly. The robot should detect the device and light up at this point. If you want to check off items after completion, you’ll need an account, which is good anyway when using Bloxter. The instructions on this page are very helpful and you should end up on mygopigo.com, where the programming can begin!
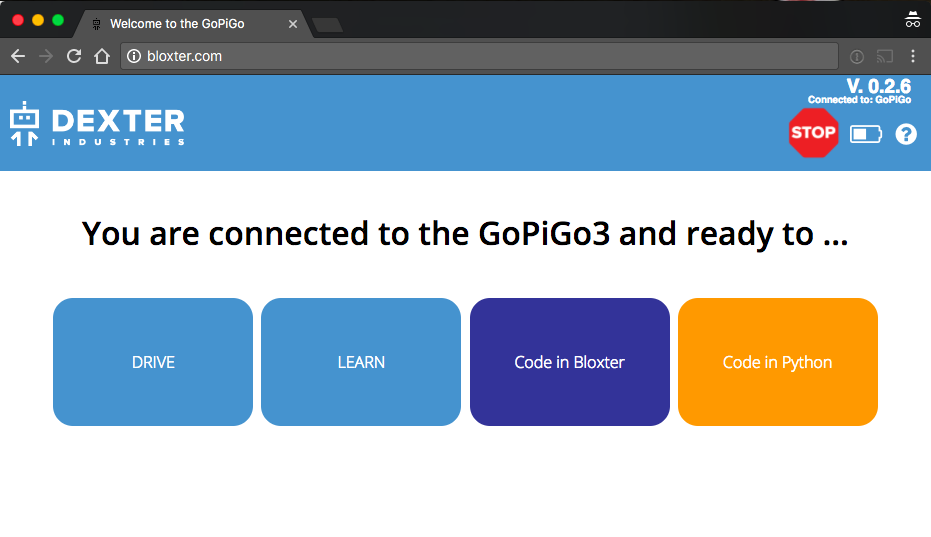
Here, there are lessons students can work through or they can start out by creating their own programs. There are seven categories with Bloxter: GoPiGo, sensors, actuators, media, logic, loops, and math. Students can use the blocks in each of these categories to create programs with as many components as they’d like. They can make the robot drive forward, pause, turn, light up, loop, and even take photos! The photo feature is something that’s definitely cool and unique and it makes a great addition to STEM lessons by allowing students to write the code the robot needs to snap a photo.
All in all, the GoPiGo offers students a ton of different ways to create programs. I didn’t quite get to explore using it with Python, but this, of course, is another excellent feature. To check out all of the GoPiGo kits we have on our store, including kits that support entire classrooms, head on over and check out additional robotics options below! And, don’t forget to follow us on Twitter and Instagram for the latest, greatest, and coolest tools for STEM education!