
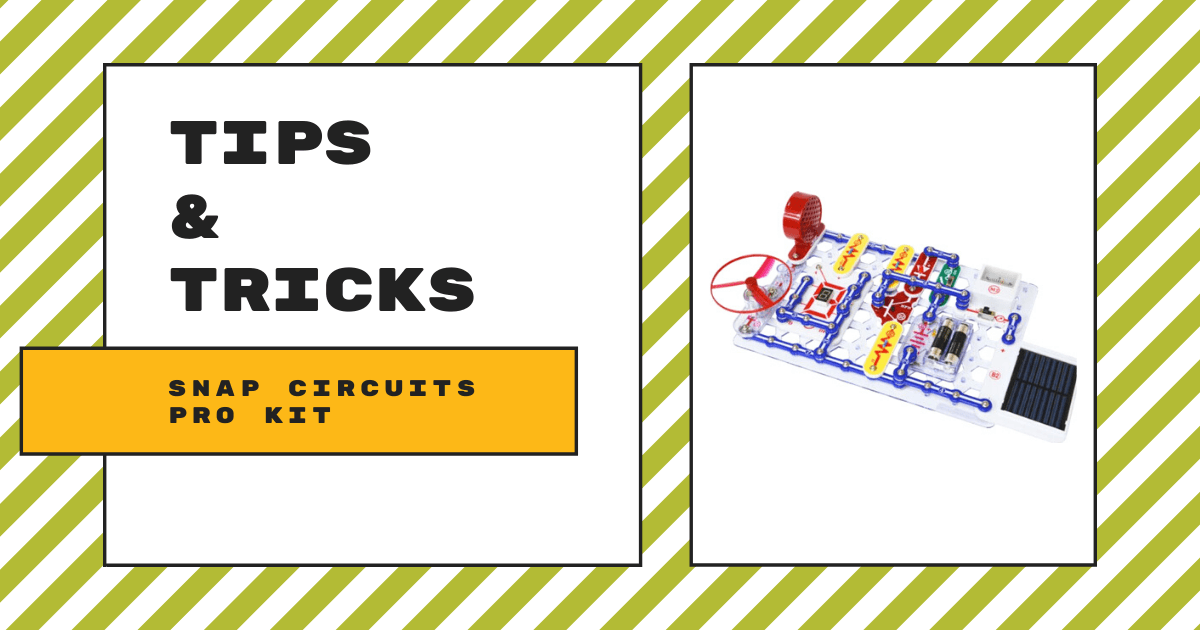
| When it comes to using the Snap Circuits Pro Kit in the classroom or a school makerspace, there are some things teachers should keep in mind. 1. Most circuit problems are due to incorrect assembly. Always double check that your circuit exactly matches the image. 2. Be sure that parts with positive and negative markings are positioned in the same way as the image. 3. Be sure that all connections are securely snapped. 4. If power issues arise, try replacing the batteries (additional suggestions below). 5. Always include at least one component that will limit the current through a circuit, such as the speaker, lamp, or motor. 6. And, never leave a circuit unattended when it is turned on! |
When it comes to purposeful making and engineering, it doesn't need to be completely high-tech. A staple in STEAM education, afterschool exploration, and informal play, the Snap Circuits kits continue to serve as a popular option for educators interested in introducing students to circuitry and hands-on learning. As their name implies, students can simply snap various pieces together to build simplified circuits. Like with all the Snap Circuits kits, the Snap Circuits Pro kit includes a very clear project manual to help ensure students place each piece in the proper position when they're building their circuits. With 500 projects to choose from, it also makes a great addition to elementary makerspace activities.
Though this is a simplistic way of introducing students to circuitry, it actually mimics legitimate circuit setup. Once students have a circuit built, it's designed to run in the same way as an authentic board. Since circuit boards are found in so many electronic products, this presents a great real-world learning opportunity for students. Besides its similarities to authentic circuit boards, the Snap Circuits Pro kit helps enable risk-free play, construction, and discovery. It's, of course, educational as well and great for the hands-on chance to explore engineering. Plus, it's completely safe for students as young as eight years old and even includes a 'Circuit Safe' guarantee.
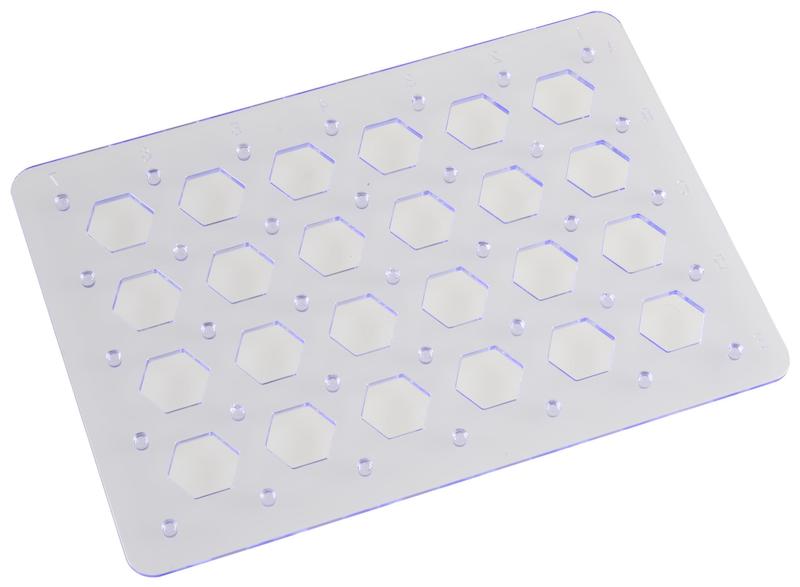
The Snap Circuits system is actually very intuitive and easy for children to use. Most of the projects students built can be constructed on the clear grid that comes in the kit. These grids come in each Snap Circuits kit and help make it easy for students to identify how to precisely follow directions and construct their circuits. The grid's rows are labeled A-G and its columns are labeled 1-10, so they can see exactly where each piece goes. Students don't need to build their circuits on this grid, but it can be helpful in many cases. It functions like a base and provides a platform for mounting their pieces and wires. Pictured next to each part in the instructions, you'll also see a number that signifies the level each component should be placed at. Level 1 components are assembled first, then Level 2, Level 3, and so on.
Each different Snap Circuit piece is identifiable by its color and a number found on the piece itself. For example, the snap wires are blue and the switches are green. When building each circuit, students can find the same number and color identifiers on each of the pieces used in the illustration. After identifying these key features of the Snap Circuits Pro pieces, they may need some help installing the batteries, which slide into the power source (B1). When placing them in, students should be careful to ensure the spring is compressed straight back and not bent in any direction.
It's also imperative for them to identify and utilize the positive and negative markings in the instructions when placing components in circuits. This influences the flow of the circuit between the positive and negative terminals of the battery. Following these instructions closely will ensure their blocks are spaced properly, at the right level, and facing the correct direction. The instructions and diagrams in the guide book are very clear and easy for students of all ages to follow. We should also mention that 300 of the included projects are those found in the Snap Circuits 300 kit manual. In addition to those, there are 200 'new' ones for students to explore. The Snap Circuits Pro manual is also available in a digital format broken down into three different sections.
The manual (digital or print) also includes the complete Parts List. If students ever have a question about any components, they can find a wealth of information in the Parts List. This list states the quantity of each part found in the kit, its ID, its name, a corresponding symbol for easy recognition, and the part number. This is also helpful should students ever lose any of the pieces. It could help them identify projects to avoid or determine what to swap in from another Snap Circuits Pro kit. Just remember that every circuit needs a power source (the batteries), a resistance, and wiring paths. The resistance could come from the lamp, motor, or resistor. And, the wires used could be either the snap wires or jumper wires.
Batteries are also a common cause for troubleshooting issues and the Snap Circuits Pro kit requires four AA's for power. It's critical that students only use 1.5V AA alkaline batteries and to never mix up old and new batteries. When batteries are used up, remove them and replace them, ensuring they are inserted with correct polarity. When building your circuits, never make a direct connection across the battery terminals. This will likely cause a short circuit and damage or drain the batteries. And, always include at least one component like a speaker, lamp, or motor in the circuits to limit the current flowing between the battery terminals.

There are 75 total components that come in the Snap Circuits Pro kit, enabling students to build all sorts of circuits. Besides the connectors, which account for much of that number, others include a voice recording IC, FM radio module, analog meter, and more. When building their circuits, students will incorporate various pieces and also utilize connectors of different sizes depending on what they need. In terms of length, they range from one snap wire to six snap wires.
The kit includes three 1-snap wires, six 2-snap wires, three 3-snap wires, one 4-snap wire, one 5-snap wire, and one 6-snap wire. Their only purpose is for creating connections between other components and literally keeping the circuit in one piece. Also, though students may want to try being extra creative, they should never attempt to modify any of the components. They're specifically designed in various shapes and sizes to provide solutions for each individual project.
Due to their similarities to authentic circuit parts, students can use these pieces to construct actual computer interfaced devices. While it does make circuit construction easier, students should also use the manual to ensure they have the circuit built correctly before attempting to power it on. At the same time, they get the hands-on design experience by building real working circuit models. It also really is as simple as snapping the pieces together.
Students don't need any tools or have the need to apply extra force when connecting the components to the board or to each other. This is true when connecting the jumper wires to circuits as well. The jumper wires help make connections more flexible, which is especially useful in instances in which it's tough or impossible to create a connection using the snap wires. Students can use these components to extend their connections and they snap in just as easily as all other pieces.
Be sure to follow these important guidelines to avoid any mishaps when using Snap Circuits as part of your instruction. For more in-depth guides and extended safety suggestions, we suggest reading through your user manual. If you'd like to purchase a Snap Circuits Pro kit, head to our store or click below. We have Snap Circuits kits of various sizes, difficulties, and themes. If you’d like to check out more MakerEd tools for STEAM education, you can browse our store as well. And, if you have any questions regarding the Snap Circuits line, feel free to contact us and follow us on Twitter and Instagram for more EdTech Tips & Tricks!