
| The SKETCH Classroom Bundle is one of the most robust 3D printing offerings from MakerBot and allows students to design and create 3D objects remotely. 1. At just 17 inches tall, the MakerBot SKETCH 3D printers are easy to move and store. |
The SKETCH Bundle from MakerBot is a 3D printing solution with a lot of helpful features for students and teachers. It’s compact in size, allowing for easier classroom integration and it comes with complete access to the robust MakerBot Cloud platform, MakerBot certification licenses, and hundreds of lesson plan ideas for teachers. It is the MakerBot Cloud platform, however, that helps to make this system extra valuable—in all-purpose environments, especially. Students can create designs remotely and send them to the SKETCH printer from absolutely anywhere with an Internet connection. They no longer need to be in the same room as the printer to experience impactful 3D printing lessons.
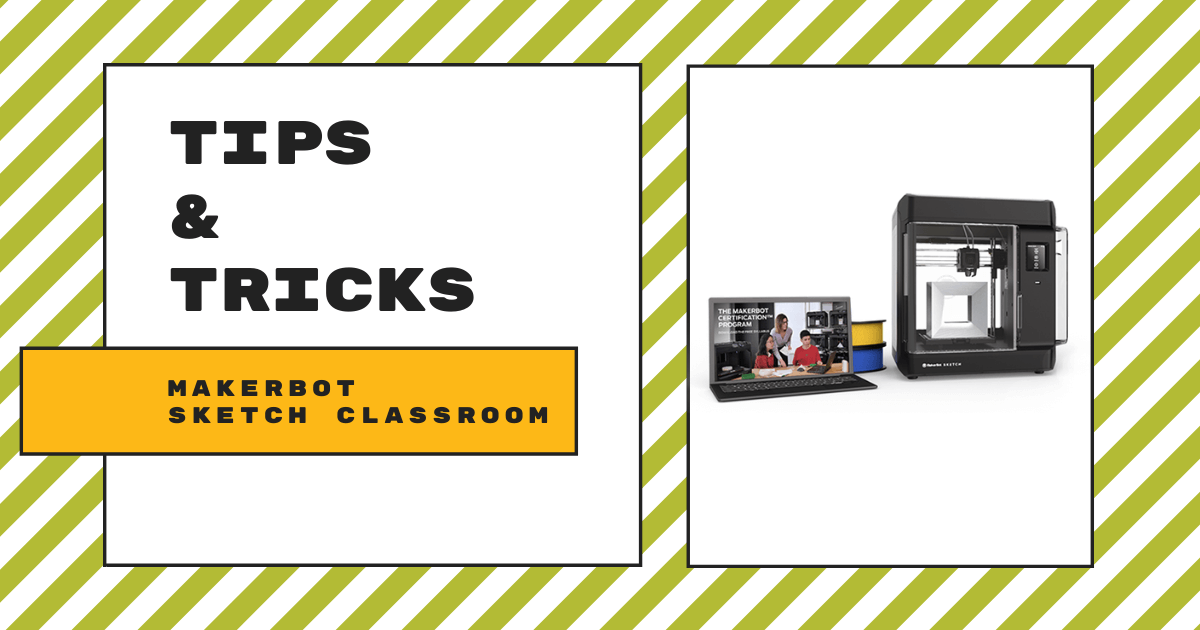
On our store (and below), you’ll find the SKETCH 3D printer in the SKETCH Large Classroom Bundle, the SKETCH Large Two-Printer Setup, the SKETCH Large Single Printer Setup, SKETCH Single Printer Setup, SKETCH 3D Classroom Bundle, and their original MakerBot SKETCH Classroom solution. This first bundle includes two MakerBot SKETCH 3D printers, six spools of PLA filaments, four build plates, two spatulas, two snips, and access to virtual resources from the MakerBot team. The other 3D printing bundles include many of the same materials and MakerCare protection with some. The SKETCH printer, specifically, uses fused deposition modeling and can create builds 5.9 inches x 5.9 inches x 5.9 inches in size. In terms of materials, it works with MakerBot’s SKETCH PLA filament as well as their SKETCH Tough Material. And, it's just 17 inches tall, 16.6 inches wide, and 14.4 inches deep, easily fitting into classroom spaces.
When it comes to software for creating 3D designs, the MakerBot Print software is the answer. With this technology, students can build their designs using many file types, including MakerBot, STL, SolidWorks, InventorOBJ, IGES, STEP, and more. The SKETCH is also compatible with Windows 7, Windows 10, and Mac OS X (10.12+) operating systems. Some CAD plugins it supports will include SolidWorks, Autodesk Fusion 360, Onshape, and Autodesk Inventor. It also requires 100-240 volts of power for operation.

Nevertheless, the true value of the MakerBot SKETCH is the potential for students to print from anywhere using MakerBot CloudPrint. Students can pair this software with their in-class 3D printers. This lets them design prints from home and have them print in school. This was particularly valuable for students when in a hybrid learning model, but it's still helpful with everyone back at school. Now, educators can also assign 3D printing homework after checking to ensure all students have Internet access at home. To access their remote printing dashboard, head to the MakerBot login page. There is no installation process required for starting out with MakerBot Cloud and students can also use it simultaneously.
Once there, you’ll need to create an account if you don’t already have one or sign in to that account. Once signed in, you'll see a list of tabs on the left side of your screen. Clicking on the My Printers tab will display any printers that you’ve connected to. You can then click Add a Printer if you are able to pair this computer with a printer right away or click Prepare a File Online to get started with designing. This brings you into the design field and allows you to upload any .stl or .MakerBot designs to work from. You can add your models by clicking Add Models and scale and rotate the digital representation for the best view. Be sure you select SKETCH, specifically, from the dropdown list of MakerBot printers in the top right corner.

It might be best to show students how to access the dashboard while together for a lesson and then have them get started with designing their prints afterwards. If you can pair their computers with their 3D printer, that would also be great. It would help save class time and reduce student confusion if they’re trying to get started remotely. The MakerBot Certification courses might also be helpful for teachers who'd benefit from discovering tips about the printer and software. It involves self-paced and interactive training that includes valuable information for not only using the 3D printers, but also how to maximize them and equip students with the right skills.
Above all, the MakerBot Cloud environment provides educators with all of the traditional MakerBot tools in an online format. This certainly helps make remote 3D printing easier without necessarily compromising the learning experiences. MakerBot CloudPrint even integrates with Google Classroom, making it possible for teachers to offer cloud-based 3D printing as a regular part of the curriculum. On top of that, students can easily transfer designs they've created with programs like TinkerCad, Fusion 360, and Onshape over to the MakerBot software for printing.
If you want to learn more about the MakerBot SKETCH, click below or check the MakerBot section on our store. If you have any specific questions, feel free to get in touch with our team! Make sure to follow us on Twitter and Instagram as well and sign up for our newsletter for all of our latest updates.
"MakerBot Certification™ Licenses....
2 Seats in MakerBot Certification for Educators...
10 Seats in MakerBot Certification for Students"
I hope that "Certification" is not another word for license. Therefore, I can only use it with 10 students. Please clarify
MakerBot also offers a free open community platform called Thingiverse. That gives you access to endless 3D models you can download straight to your printer. On there, you can also find their free education hub. You can find pre-made lessons that you and your students can download and follow.
Regarding the Certification, that is an optional add-on that we include in the classroom bundle, which can be used for two individual teachers and 10 individual students. The certification gives you access to an inclusive full set of interactive content, projects, quizzes and exams developed by MakerBot Certified Educators. For educators, it'll help you learn about MakerBot 3D printers, test your 3D printing knowledge, and earn MakerBot Certification. It's designed to help educators teach the 3D printing process and develop your own 3D printing lesson plans and projects. You can complete the training material entirely online.
You will also earn a MakerBot Certification after completing a series of final assessments; the certifications must be renewed every three years. MakerBot Certification program received ISTE’s Seal of Alignment, meeting their standards for educators and making it easier for individuals and entire districts to add and support 3D printing in their STEM classrooms. For students, MakerBot already offers hundreds of free lesson plans, support, and an ISTE-approved educator program. The MakerBot Certification Program for Students gives middle and high school students a proven edge with online certification for design thinking skills and hands-on 3D printing training.
We've got a great article that details the Classroom Certification, which you can find here. Thanks for your interest in us! Please reach out to us at support@eduporium.com or give us a call at 617.600.7230 if you have any other questions or need help getting a quote from us.