
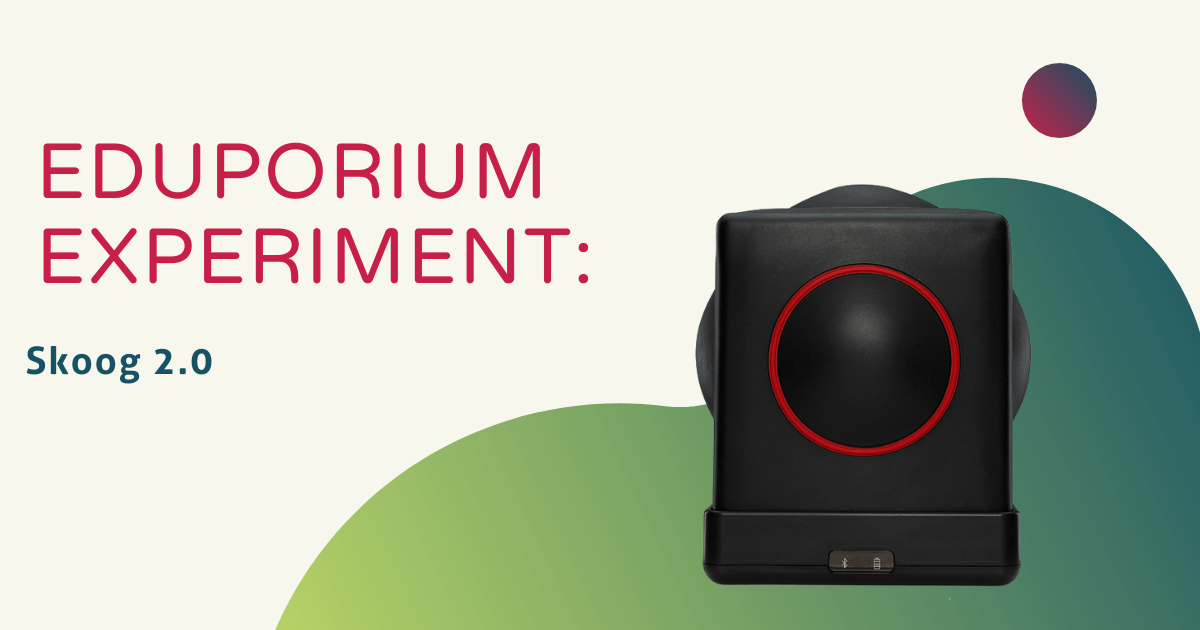
The Skoog 2.0 is a tactile, musical cube that children and adults can use to create new kinds of sounds based on how they touch it and interact with it. It’s shaped like a cube with round spots that jut out of each of its five outwardly facing sides. Each round spot is a different color (orange on top and red, blue, yellow, and green on the other sides), allowing students to set the function of each one. The Skoog itself pairs with mobile apps and this portability—made possible by a Bluetooth connection—allows students to create customized sounds wherever they’d like.
Students can create all kinds of sounds with the Skoog and getting started is pretty easy. I first checked to see if it was charged, which is done with the included USB cable. There should be one in the box but, if not, a common Android cable should do the trick. Plugging it into a USB port or phone charger will get it charging. A small yellow light at the base of the Skoog device will illuminate when it is charging and there is a small black button directly underneath there (on the bottom surface) for powering the Skoog on. Once powered on, the Bluetooth icon should blink blue and then turn solid blue once it connects through Bluetooth.
To connect the Skoog to a device, start by downloading the Skoog app. Some instructions came in our kit and provide steps for doing so but indicate that the app is called Skoogmusic and only available on iPads. I downloaded an app called Skoog onto an iPhone and it worked fine. With the Skoog powered on, it's easy to pair a device and start experimenting with the various sounds. There are three main categories within the app that I played around with: Scales, Instruments, and Settings. Using these tabs, you can set the sounds that play when touching the various sides of the Skoog, the amount of force you need to make the sounds play, and more!
First, in the Scales section, you can set the key for the sounds that the Skoog will produce. Then, when touching the corresponding surface, the sound will project through your device. In this tab, you can choose from the following keys: C, C#, D, E, F, F#, G, G#, A, B, and more. Depending on which option you select, the resulting sounds will sound slightly different. Directly below that, you can control the octave level on a scale from 1-6. Selecting 1 produces the lowest sounding tones while 6 makes the tones have a higher sounding pitch. Finally, you can select your scale to choose your sound and give some of the Skoog’s surfaces a tap to see how the resulting sounds differ!

In the Instruments section, you can choose which type of sounds you want to use. The options are classic synth, modulus, ice, moon synth, dubstep bass, Karplus string, flute, and breathe bass. Again, each one leads to the creation of a unique sound and you can try out the results by touching the various sides of the Skoog. Each side should produce a different sound and it will take a varying amount of force to get the sound to play depending on the parameters laid out in the Settings tab.

In the top section of the Settings tab, you can toggle the controls of each side of the cube by moving the Global Response control. If you’d rather control each side individually, that’s fine too—and more fun! Sliding the marker for each color adjusts the sound that results when students touch that side of the Skoog. Whether tapped, slammed, or squeezed, the resulting sound depends on the activation threshold setting. When set to 5, they need less force to produce the sound and, when set to 1, they'd need more. You can control the individual response of each side (represented by the color) by toggling the control setting under the Individual Response section. Also, students can adjust the volume simply by turning their device’s volume up or down.
Basically, that’s how to start when using the Skoog to create some unique musical sounds. There are a bunch more ways to use it, however, and, as you get more comfortable with the technology and various apps, the additional options present many more learning opportunities, including pairing the Skoog with robots like Dash, BOLT, and the Sphero SPRK+. This is possible when pairing the Skoog with Swift Playgrounds and creating programs within that app!
Other options for making music with the Skoog include Skoog Skratch, which is a unique app students can use to tap to record different sounds. They can record any sounds they want—up to five—and mix them all together to create original tunes. There’s also Skoog Access, which allows students to turn their Skoog into a communication tool. It works with Apple’s Switch Control and helps make the Skoog more accessible for any users who have trouble communicating. Finally, with Swift Playgrounds, students can build their own musical instruments and create music that way!

I tested out some of the Skoog’s more basic functions, but the opportunities for creatively producing unique sounds are very extensive! To learn more about the tactile Skoog 2.0 and some of its additional potential uses, be sure to visit our store! If you have any questions about it or how to use it, feel free to get in touch and make sure to follow us on Twitter and Instagram as well!