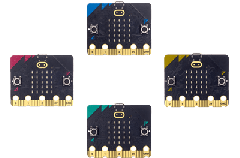
This week’s Eduporium Experiment is all about the basics of the incredibly popular and powerful micro:bit board. The micro:bit is essentially a mini, portable, programable computer that has a variety of uses in and out of the classroom. It can help students learn basic coding, engineering skills, and help spark their creativity. If you are unfamiliar with how the micro:bit works, I would suggest checking out this video to help with your understanding of it while you read.
Other resources on how to get started can be found on micro:bit’s website. To help me out with this experiment, I decided to look at the quick guide, features of the micro:bit, and for some inspiration, the projects page. These resources helped give me a basic understanding of how the micro:bit works and how to program the unique parts of it from the buttons to the LEDs and even the accelerometer.
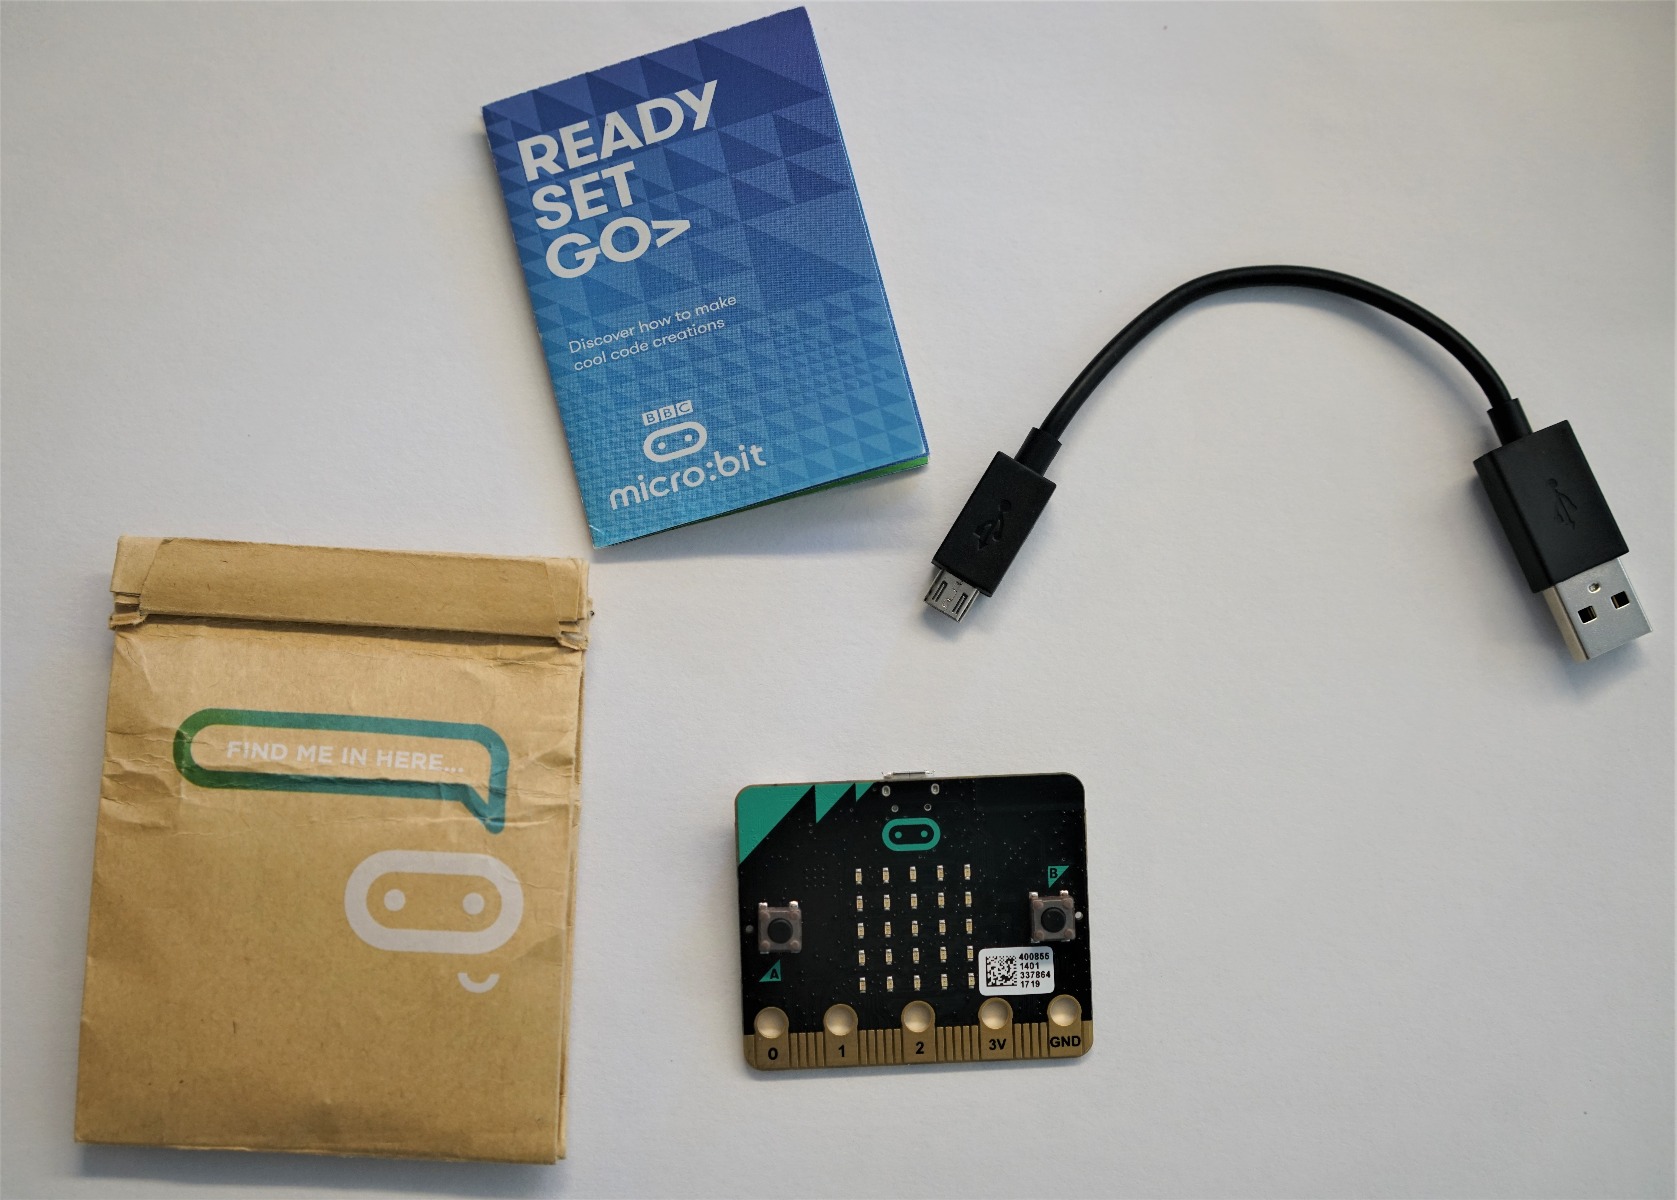
To begin exploring the micro:bit, students should plug it into the computer and complete the demo. The informational page previously mentioned will help with this step. After it’s all set up, it’s time to start bringing the micro:bit to life! The great thing about the micro:bit is that it is compatible with virtually any operating system. Macs, PCs, Chromebooks, and Linux systems, like those commonly run with a Raspberry Pi, all work. The quick guide is a great interactive page to help users gain some familiarity on how to start programming their device. Just remember that if students want to bring their device on the go, they’ll need to have a compatible battery pack on hand.
There are three main ways to code with this minicomputer: Blocks, JavaScript, or Python. To get started, students can visit the coding page and choose how they would like to program. I chose to program with Blocks on my PC, but wireless coding is also an option with mobile apps available for download on Android and iOS. Within the coding program, the categories are clearly defined on the screen with all of the basics, like input, LED, radio, loops, logic, and variables, clearly visible.
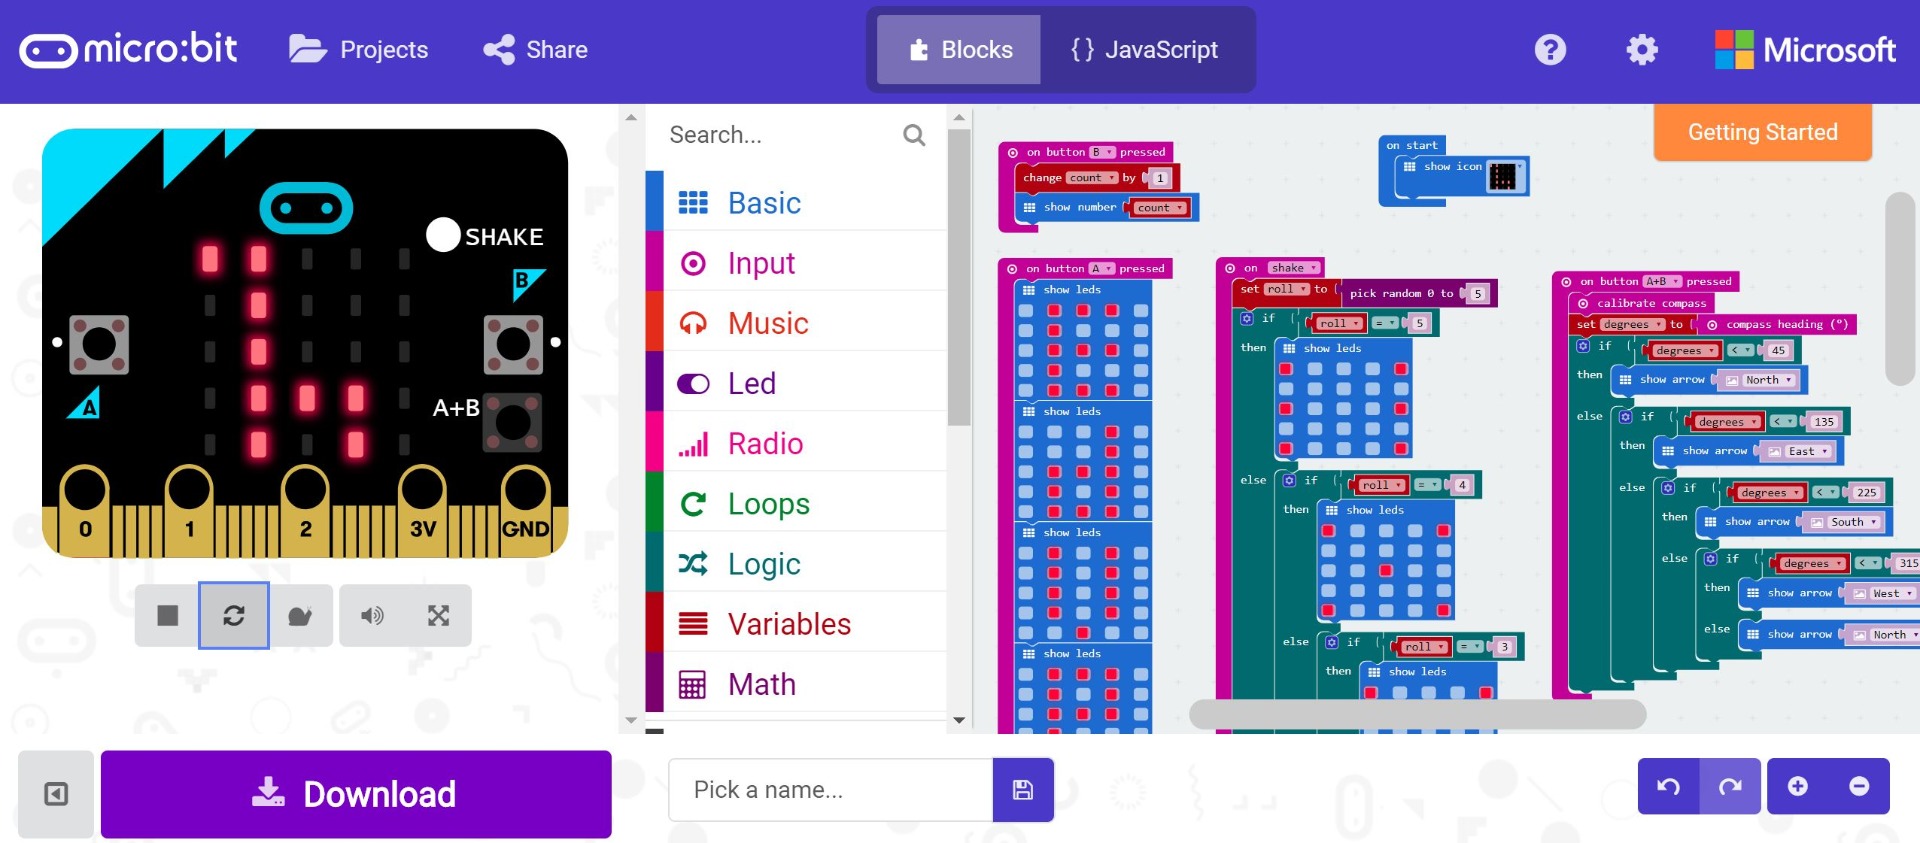
For those familiar with coding, there are advanced categories, like functions, arrays, and series. Other categories, like radio and music, can only be used in unison with other materials or micro:bits. The project page has so many useful ideas and, with step-by-step instructions, students with any amount of programming proficiency can become a whiz in no time. I tried out the dice and compass projects, but there are so many more to discover as well!
Also, the Makecode program makes it easy to learn coding because it shows users in real time what they are doing. It's also perfect for students who continue to be using the micro:bit in remote learning. Fully equipped with the functions of the tangible micro:bit, the virtual one on the screen shows what exactly students are coding once fully downloaded. This function is great, unique, and makes for a less frustrating coding experience. In case they don’t like the way that their code is working out, this allows students to see it before they fully download it, cutting out the frustrating back and forth of working out an issue.
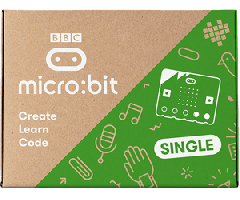
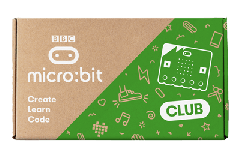
Feeling inspired to start using micro:bit in your classroom or makerspace? Visit our store to purchase a micro:bit Club Pack or just browse the other micro:bit products and accessories we have! Although they are currently on backorder from the manufacturer, we will do everything we can to fulfill orders as quickly as possible. Don’t forget to follow us on social media for the latest Facebook, Twitter and Instagram updates on all things tech related and look out a week from today for another Tips & Tricks blog highlighting Cubelets!