The micro:bit V2 remains one of the most popular and impactful educational coding tools we have seen. It features a slew of powerful and versatile components and, therefore, it unlocks fun ways for kids to explore computer science concepts using the MakeCode environment. Speaking of that MakeCode platform from Microsoft, if you're new to this environment, children can use it to create micro:bit code (original or V2) and with plenty of other STEAM tools as well (including the Finch 2.0, Hummingbird Bit, and Strawbees kits). It’s best known, however, for illustrating basic coding concepts as students begin their CS development in the classroom. MakeCode also supports block and text coding, providing a viable option for students with different interests and abilities.
MakeCode is certainly one of the primary coding environments for creating programs to run on a micro:bit. Students could jump right in to this block-based environment and gain a visual understanding of how their code contributes to running any program. The MakeCode for micro:bit editor is accessible directly through the micro:bit website or through the Microsoft website. There’s no MakeCode download necessary. To find it on the micro:bit website, click the ‘Let’s Code’ header at the top of the page. Then, just choose the black ‘MakeCode’ editor button on the left of the screen. Microsoft MakeCode is also accessible on Android and iOS devices using the micro:bit app. Just be sure your Bluetooth function is enabled so it can pair with the micro:bit. It’s important to make sure that it’s running the latest software version, too.
Exploring the MakeCode field for micro:bit coding.
You can find lots of MakeCode classroom projects across the micro:bit website as well, including dozens with either block or text coding connections. Within MakeCode, students could also switch back and forth between Blockly coding and text coding easily. This enables them to see what their block program would look like if they created them as text programs. The MakeCode block coding editor is very much similar to the Scratch coding language. It provides kids with a visual introduction to coding values as well as other components of programs, like loops and variables. The text part, on the other hand, features the powerful Python programming language, a common language for programmers and engineers.

To begin programming with the micro:bit V2 and MakeCode, you can find the MakeCode platform within the micro:bit site. The option to begin a new project is in the middle of the screen—just click the big purple box. After giving your project a name and clicking ‘Create,’ you’ll then enter the MakeCode platform. At the top of the screen, there are two coding options: Blocks and JavaScript (text coding). For children who have minimal or intermediate coding experience, it’s best to start with the Blockly editor. Don’t worry, the options for creating unique programs to run on the micro:bit are still very extensive.
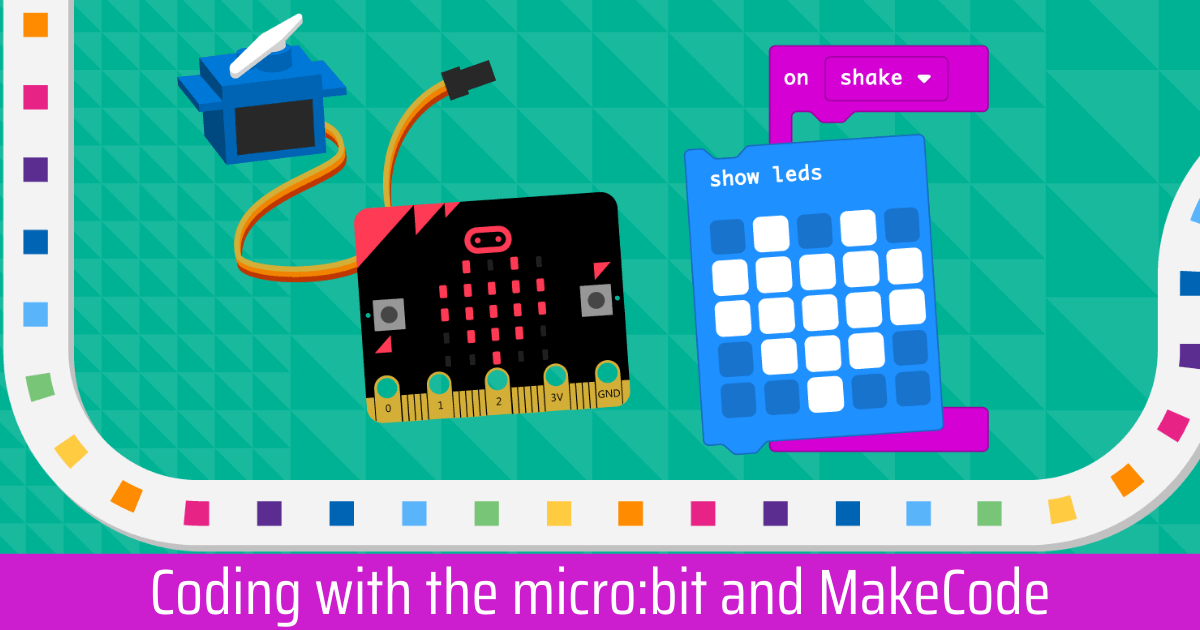
Creating block programs in MakeCode.
As with many educational coding platforms, your MakeCode blocks are color coded based on individual functions. They are found on the left of the screen between the virtual micro:bit and the programming field. The nine block types include Basic, Inputs, Music, LED, Radio, Loops, Logic, Variables, and Math. Each of them incorporates different programming concepts and allows children to explore different possibilities for creating micro:bit programs with MakeCode. Below these blocks, you’ll also see advanced coding blocks, which children can try out if they’d like. These include Functions, Arrays, Text, Game, Images, Pins, Serial, Control, and Extensions. These blocks will even remain the same if students were to ever toggle between the block and MakeCode JavaScript environments.
If creating a program to control their micro:bit’s LEDs, for example, children would also see the same LEDs light up on the digital micro:bit. The console simulator (the button directly beneath the virtual micro:bit) also provides a different view of their code. Once they have their programs built, they can download it onto their micro:bit by pressing the ‘Download’ button. Be sure to connect the micro:bit to the computer via the USB cable or that you’ve established a Bluetooth connection if using the micro:bit app. As children learn coding with Microsoft MakeCode, using the platform offline is also possible but connecting to the Internet is ideal.

MakeCode and the micro:bit V2.
Undoubtedly, programming the micro:bit with MakeCode is super exciting for students—especially as they discover all the custom options. Kids can incorporate all of the micro:bit’s newest features, like its speaker or microphone, in all their MakeCode programs while developing their computer science skills further. The simplicity of integrating MakeCode into the elementary or middle school coding curriculum also remains extremely appealing for teachers and, to be honest, the way in which it was developed has created a very smooth experience for students who are learning about coding with the micro:bit.
If you’d like to learn more about this solution for your school's STEAM program or receive a quote, feel free to contact us. Click below to find some of the micro:bit V2 kits and check out our store for the rest. Follow us on Twitter/X and Instagram for more.