
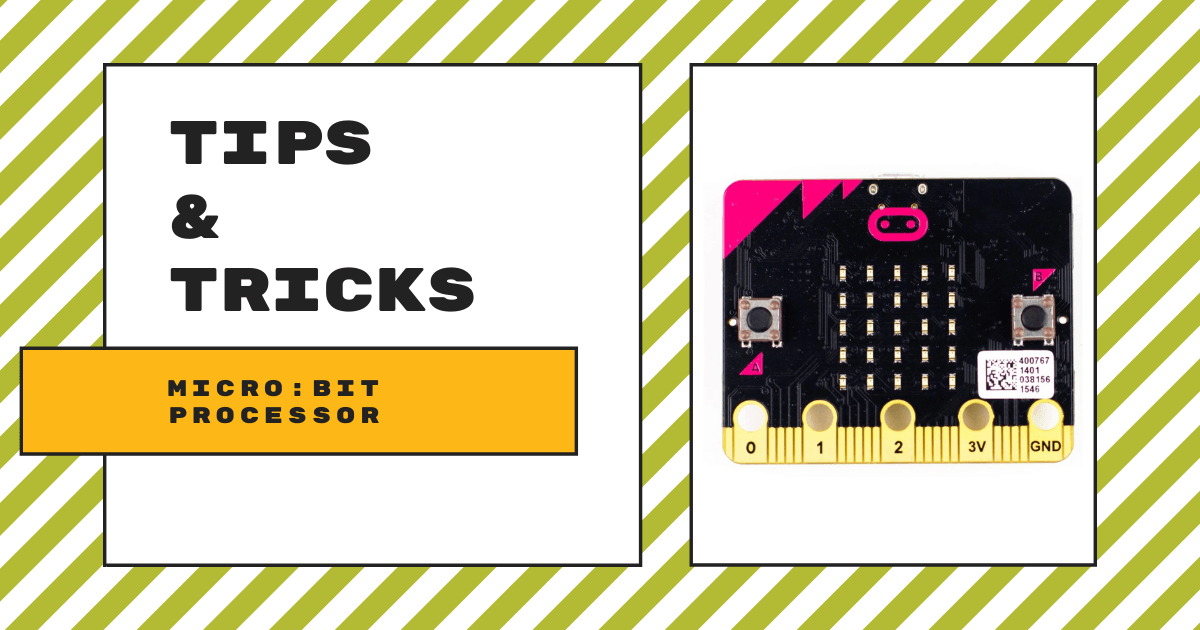
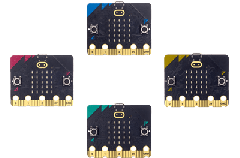
| The micro:bit is a very popular and powerful microcomputer that you can use to teach coding and computational thinking to kids in various grades.
1. You'll need a male micro USB cable to connect the micro:bit board to the computer you're using. |
Getting started using a computer.
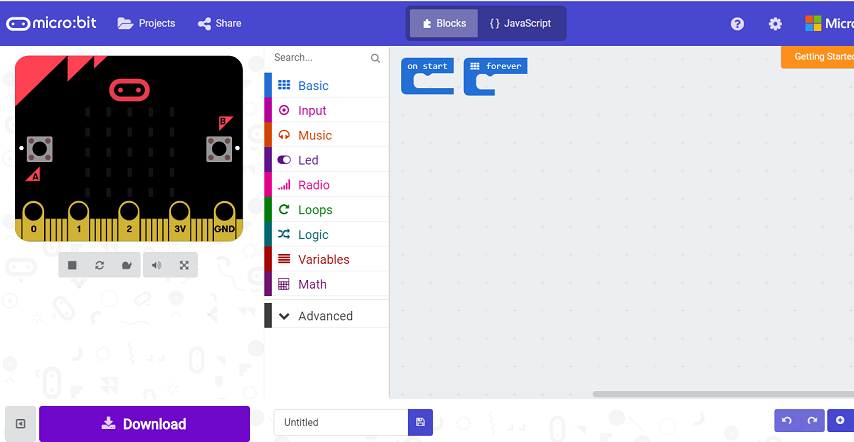
To begin, you'll need a male to micro USB cable to connect the micro:bit to a computer. When plugged in, computers recognize your micro:bit as a new drive. Open the micro:bit homepage and click Create Code to start coding. Kids can choose between a variety of editors based on your skill level and interests. Once they write some code, it’s good to do a test run by pressing Run to see it play a simulation on the screen.
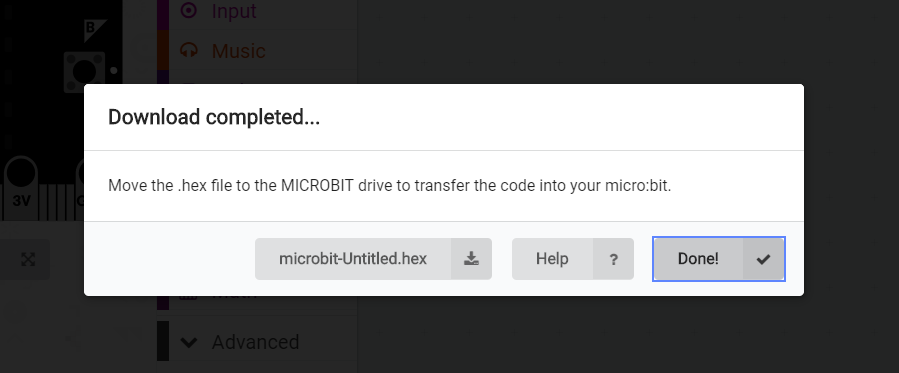
If all goes as planned, you can click Compile or Download to access your code as a .hex file. Once this file has downloaded, open the micro:bit drive on your computer and drag or send the file from your Downloads folder to the drive. Notice an LED flashes on the back of the board during the transfer. When this transfer is complete, your code will automatically run on the micro:bit! If you want to run the program again, press the Reset button on the back of the micro:bit and it’ll run the newest file.
Getting started using a phone or tablet.
To get started by connecting a micro:bit to a phone or tablet, you'll need two AAA batteries and a battery holder to power it. Then, kids must connect to the micro:bit through the Bluetooth function on your device. The app requires Android 4.4 or later or iOS 8.2 or later. The first time you connect to a device, you'll need to pair the device. Instructions on the app will walk you through how to connect via “the secret code.” The micro:bit will remember the device, but if you reprogram the micro:bit via a USB or computer, you will need to repeat the pairing process the next time you use a phone or tablet.
By going to the Create Code section on the micro:bit website or the Let’s Code section of the app, children can choose an editor and start coding. This will take them outside the app. Their device will require Internet access to initially open the editor but, once open, you can use the app without Internet with the JavaScript Blocks Editor. When done coding, click the download button at the bottom right to compile the code and open it in the micro:bit app. The next step is to Flash the program to the micro:bit, which will run the code!
Classroom tips for teachers.
- If using the same device with a micro:bit, you won’t have to re-connect as the app automatically will.
- If you’re using multiple micro:bits and run into device pairing issues, you can delete a previous pairing by going into the Bluetooth settings and clicking Forget micro:bit.
- To remove a device that's paired with the micro:bit, connect the micro:bit via USB to a computer and flash a program this way.
- If you run into any issues when flashing a program, try to re-pair the device and then flash again.
Additional safety tips.
- Store it in the anti-static bag. Make sure to “ground” yourself by touching a metal object before using the micro:bit to avoid generating static electricity.
- Since the electronics are exposed on the board, avoid touching the components when it is powered on. Handle it only by touching the edges!
- Don’t plug the micro:bit into portable battery chargers or USB ports as they may damage your board.
- To avoid a short circuit, don’t place any metal objects across the circuits on the board.
- Only use Zinc or Alkaline batteries, and don’t use rechargeable batteries.
- Don’t leave the micro:bit plugged into a computer unattended!
- Keep it away from water and don’t use it with wet hands.
We hope this helps! To purchase a micro:bit of your own or a class pack, visit the Eduporium store! Be sure to follow us on Twitter and Instagram as well and like us on Facebook for many more of our EdTech Tips & Tricks. And, look out for next Wednesday’s blog, too, as the Eduporium Experiment returns with a look at some of our new Robo 3D printers.
1 Comment