
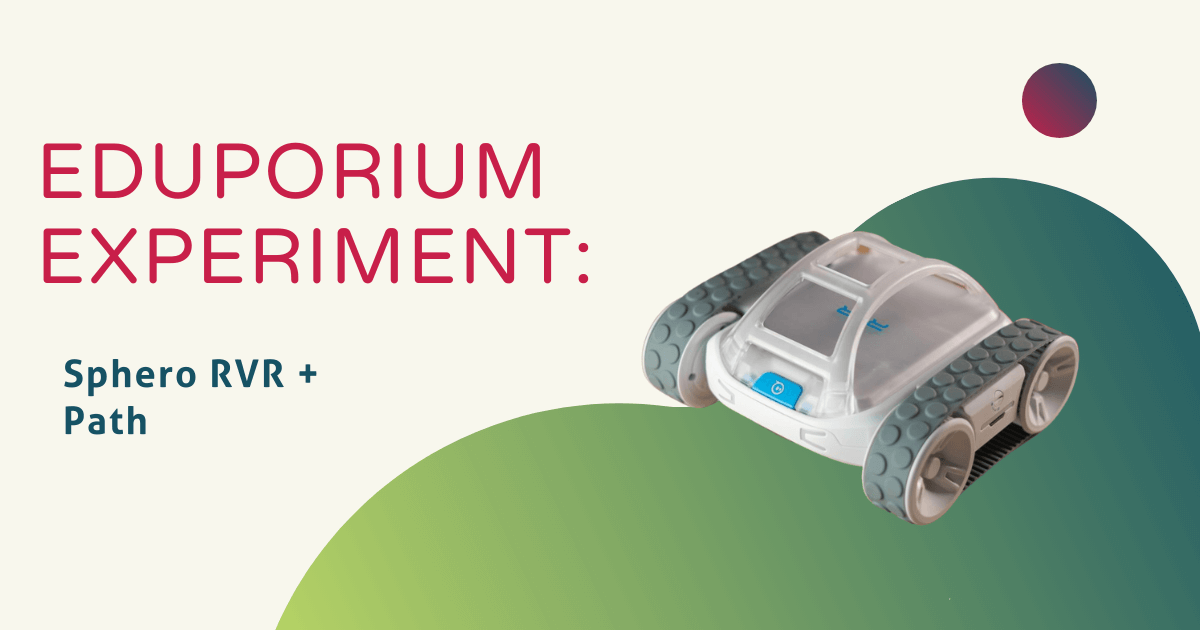
Sphero set the bar high when they introduced their newest robot—the Sphero RVR—an all-terrain, programmable robot. The RVR is the first Sphero robot that can drive over practically any surface and be programmed and customized to inspire creativity in students. It’s outfitted with an expansion port and on-board power supply that allows students to build onto their robot with littleBits or other third-party hardware, like the micro:bit or Raspberry Pi. This added functionality greatly expands the teaching potential of the RVR with endless opportunities for students to build, create, and code all through high school. Our team tried our hand at the basic path coding abilities that the RVR has, so keep reading to learn more about how to use it!
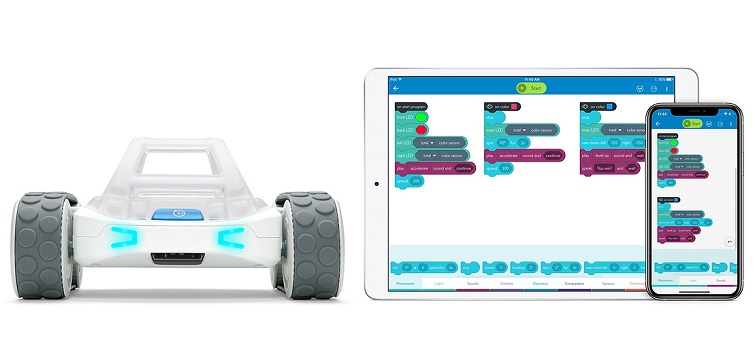
If you’re familiar with any of the Sphero products, then you most likely know about their Sphero Edu app. The RVR connects through the Sphero Edu app and has a majority of the same features you would find when coding with Sphero’s other robots. The app has you select which robot you are using and provides different activities centered around the robot you choose. To get your RVR set up and ready to code, you must first make sure your removable battery is charged and inserted. You can check how charged the battery is by pushing the blue button at the end. On the side of the RVR, you will see the battery door in between the two wheels of the robot. Use the included battery key to open the door and insert the battery. The power button is directly on the other side to turn Sphero on.
Your Sphero Edu app should recognize the Sphero RVR so that you can select the robot and connect it to the app. The RVR can be driven or programmed with block or text coding. Once connected, you can create your own program, test out one of Sphero’s activities, or use one of Sphero’s many guided activities. We tried out the activity RVR: The Tough & Tenacious Tankbot to really test the all-terrain treads on the RVR. This activity involved building a ramp for the RVR to drive up and test how much we could increase that angle for the RVR to still be able to drive up.
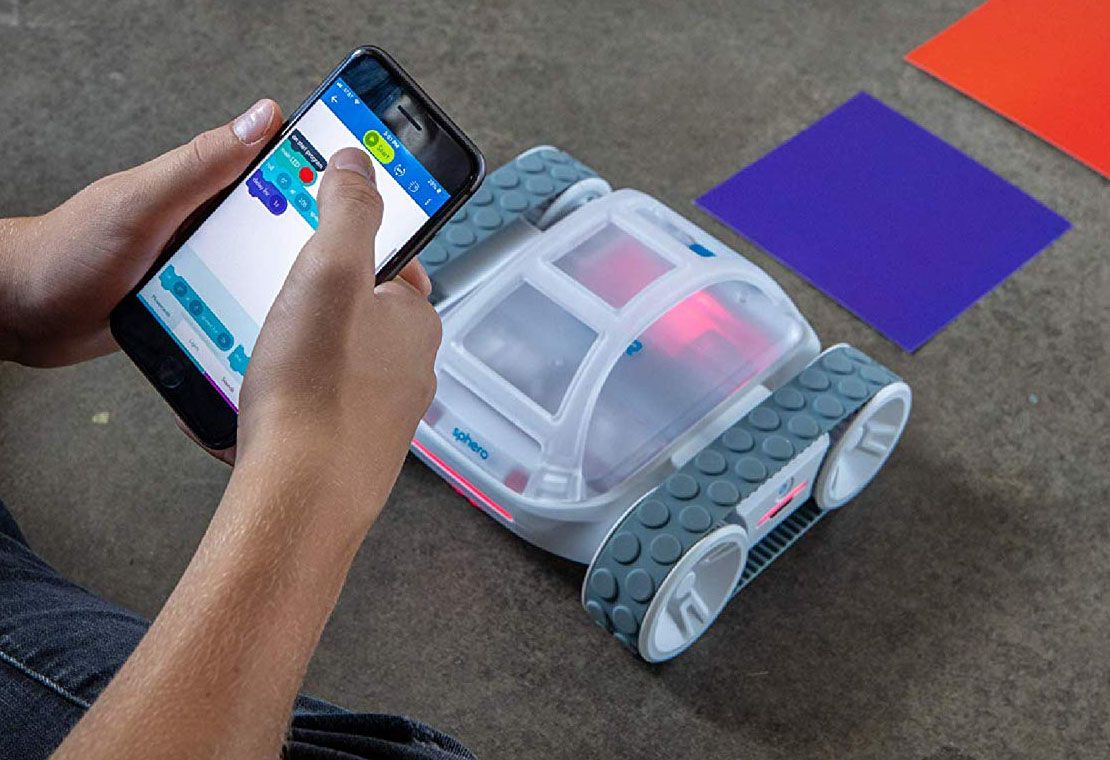
We used Sphero’s block coding to drag and drop a roll block at a speed of 50, delay block for 0.5 seconds, and then a second roll block at the speed of -50. After running the program, we found the RVR was able to trek over ramps at 45-60 degree angles. As an extension, the activity tasked us to go outside and test the robot on different terrains. If you want an all-terrain robot for your students, this little robot can climb over rocks, grass, concrete, gravel, mulch, sand, you name it! If the robot can’t get over a certain terrain, it automatically turns off its motors to prevent any overheating. It’s perfect for inside or outside the classroom and driving up ramps or over rocky terrain is just breaching the surface of the possibilities the RVR has to offer.
The Sphero RVR not only allows students to code, program, and drive a sophisticated robot through rough terrains, but to build and create on the robot itself. It offers a blank canvas with the capabilities to make student ideas into realities. If you would like to explore Sphero’s offerings and see how the RVR might fit in your classroom, click below! And, don’t forget to follow us on Twitter and Instagram for more info on all of the latest, greatest, and coolest tools for STEM education!