
| The MakerBot METHOD 3D printer provides all students and makers with top-notch precision, accuracy, results, and CAD integration.
1. Kids can download or design models for MakerBot Print to translate into a 3D design. |
These days, it can be tough to foster true hands-on engagement in all of your STEAM instruction. It might sometimes be even more challenging when trying new 3D printing lessons. When they first fully returned to school buildings, some STEM teachers did struggle to provide kids with meaningful hands-on experiences. This was because they had ben focusing largely on core curriculum requirements—something that’s not all that conducive to integrating 3D printing in your curriculum. MakerBot's solutions, however, including this incredibly powerful MakerBot METHOD 3D printer, help make it easier to facilitate STEM experiences using just Wi-Fi and a computer. So, here are some of the most important things teachers should know about the MakerBot METHOD, including its potential to enhance STEAM and CTE instruction.
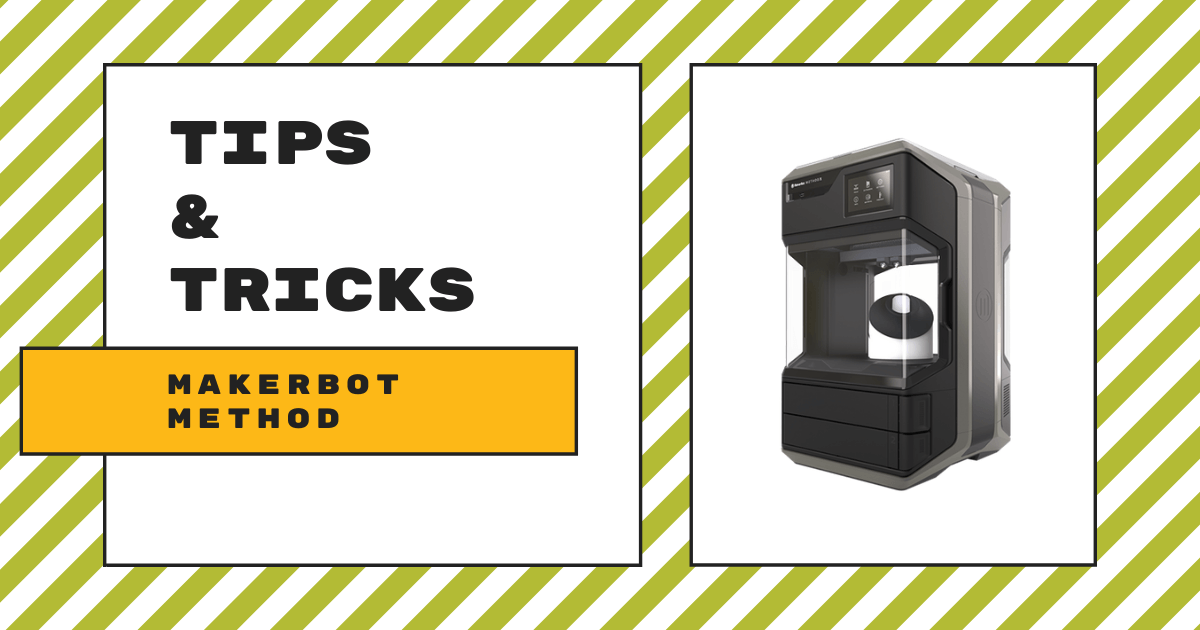
Get to know the MakerBot METHOD.
This isn't your typical MakerBot METHOD review and it's important for us to distinguish that the MakerBot METHOD is different from the MakerBot METHOD X. It's more affordable, but not quite as capable as the METHOD X. They're also both equipped with the high-temperature build chambers to provide makers with greater power. A key difference between the two machines, however, has to do with the newer RapidRinse and ABS-R filaments. These are compatible with only MakerBot METHOD X printers and not the MakerBot METHOD but, if you're considering a 3D printer upgrade, they're both definitely worth exploring.
With the MakerBot RapidRinse filaments, students and makers can 3D print incredibly precise ABS parts with the simplicity of PLA. Once children have a part produced, dropping it in some tap water dissolves the supports into nothing. The unique filament enables kids to get the perfect parts with unparalleled simplicity and uniqueness. Since they dissolve in tap water, this also ensures students can use these filaments in just about any environments. As for that MakerBot ABS-R filament, this option also brings with it a 98 percent jam reduction guarantee and enables easier opportunities to build prototypes, tools, and other parts. It also works with MakerBot RapidRinse and helps create printing experiences that are repeatable and consistent.
Like most 3D printers, the METHOD melts the materials and extrudes them onto the build plate in very thin lines. It goes layer by layer to create the object. Though it is a fairly affordable 3D printer, the METHOD has its own heated build chamber that allows for all printed material to cool slowly—a process known as fused deposition modeling. This process is common in 3D printing and can also help minimize both warping and curling of the printed filaments. The METHOD can also facilitate single or dual extrusion. This enables kids to design prints with build volumes of 19 x 19 x 19.6 cm (L x W x H) when utilizing single extrusion and up to 15.2 x 19 x 19.6 (L x W x H) with dual extrusion.

As for specifications, it’s 25.6 inches high, 16.3 inches wide, and 17.2 inches thick, making it fairly sizable. It’s not too big for a school or library setting, however. It does weigh 65 pounds on its own and also has a shipping weight of just under 82 pounds if that’s something you have to take into consideration when you are weighing (no pun intended) different potential printer purchases. On the electrical side of things, these METHOD printers require 100-240 VAC of power (400 W MAX). For comparison purposes, its counterpart, the MakerBot METHOD X, requires a bit more. Other notable exterior parts include its two material drawer bays at the bottom, which help with storing supplies, like filaments. There’s also the touchscreen, which is located in the top right corner.
You might be excited to start using your MakerBot METHOD and understandably so. The MakerBot team has included some specific unboxing instructions, however, to ensure your printer does not incur damage. Teachers may need help to get the printer out of the box and placed where they want it. Start by removing the foam pieces from the sides of the printer and lift the lid to make moving it easier. It might also take two people to lift the printer from the box while grasping the handles on the side. The starter kit, which is in the drawer of the printer, contains the power cord. Find the power input on the back of the printer and connect the cord to the machine and power. The power button is on the front of your printer and, once it powers on, additional instructions appear on the touchscreen.

Now, for more about the starter kit. This handy kit contains a bunch of helpful tools for getting started with the MakerBot METHOD and for students and teachers to use with the printer. These include a spring steel build plate, model performance extruder, a support performance extruder, a cleaning brush, a leveling hex key, and a power cord. We should also mention that, if following our blog, your included manual, or any of the guides on the MakerBot website, information may change from time to time.
The MakerBot METHOD hardware.
If you notice conflicting information between what you’re reading and what’s on the touchscreen, it’s best to follow the touchscreen since it’s updated frequently. The setup process includes connecting the printer to the Internet, authorizing the printer, attaching the performance extruders, calibrating the printer, loading the print materials, and running a test print.
One of the most important components of the METHOD is its touchscreen. Using its touchscreen, students and makers can manage both the printer and the overall 3D printing process. It also allows them to control the printer’s settings, change them at any time, and monitor the progress of their print. This is how kids can print objects from a flash drive or begin new prints using the MakerBot Print software. There are six display categories on the screen, which you see below: Print, Extruders, Settings, Info, Material, and Advanced.
Running print jobs on the MakerBot METHOD.
To start a new print, select the Print option if the print is being stored on a flash drive. It will then display the list of available files and you can select whatever one you want. Next, you just need to choose a .makerbot file that has been exported from MakerBot Print and click Start Print to begin it. Students can then monitor the process and a notification will appear on the touchscreen when it’s complete.

One of the other important things students need to know is how to load in the printing materials. This can be done by selecting the Material icon from the touchscreen. Next, they will cut the end of those materials they’re inserting so that it has a clean edge. Then, using the touchscreen, they will select whether it will be loaded into Material Bay 1 or 2. Additional instructions will then appear on the screen to help the students complete this important process. Also, if you need to unload material from your printer for any reason, this involves a similar process. There is an option on the touchscreen to unload material from either bay. Once you select this option, instructions will appear on the screen and students can proceed.
We know there’s a lot that goes into learning how to best use a 3D printer, especially one as powerful and intricate as the MakerBot METHOD. For more in-depth suggestions or tips, feel free to visit the MakerBot section of our store. If you have any further questions, including the discounted options for the MakerBot METHOD price, our team can help get you answers and help you maximize your instructional 3D printing experience. To see all MakerBot METHOD offerings, click below. You can also visit the 3D Printing section of our store for accessories and more. Be sure to follow us on X and Instagram for all our STEM content as well as EdTech Tips & Tricks!