
The Bee-Bot Robot, as you may already know, is one of the most recognizable and reputable educational robotics tools around. Designed specifically for use in early education, the Bee-Bot really helps educators introduce young children to coding and robotics through fun, exploration-based play. Students who are in Pre-K, kindergarten, and up to first and second grade can use the Bee-Bot without screens or mix in digital coding when the time is right. Based on a super simple system of directional buttons, the Bee-Bot is meant for children to use on the floor and it helps add simplicity and age-appropriate STEM adventures into early education. Plus, there are tons of accessories to help ensure all learning experiences are purposeful!
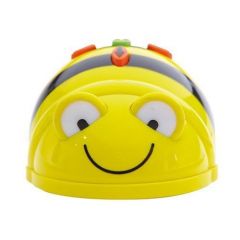
Prior to getting started with the Bee-Bot, one basic but notable point to learn involves differentiating the two models. There's the original Bee-Bot, which has been around for over 10 years now, and the upgraded Bee-Bot See & Say model. The bots essentially look identical and the major difference between them is the See & Say features a bit more technology. Namely, children can use the See & Say Bee-Bot to record voice or musical messages. With the Bee-Bot's arrow keys, they can then have it play the pre-recorded message and give their robot a voice! This technology also gives the See & Say Bee-Bot new ability to detect other Bee-Bot's as well as the Blue-Bot.
Bee-Bot Robot and STEM kit features.
When purchasing an individual Bee-Bot or Bee-Bot Hive Bundle from our store, educators have the option to get the original model or the See & Say upgrade. There is a $60 difference but students would then have access to these exciting and engaging features. Of course, even if using the original Bee-Bot, students can still enjoy beneficial STEM learning experiences. The Bee-Bot can really make a quick impact on childhood development beginning at as early as four years old. It's very much viable in Pre-K, kindergarten, first, and second grade classrooms and its simplistic coding system is the main reason this remains true.
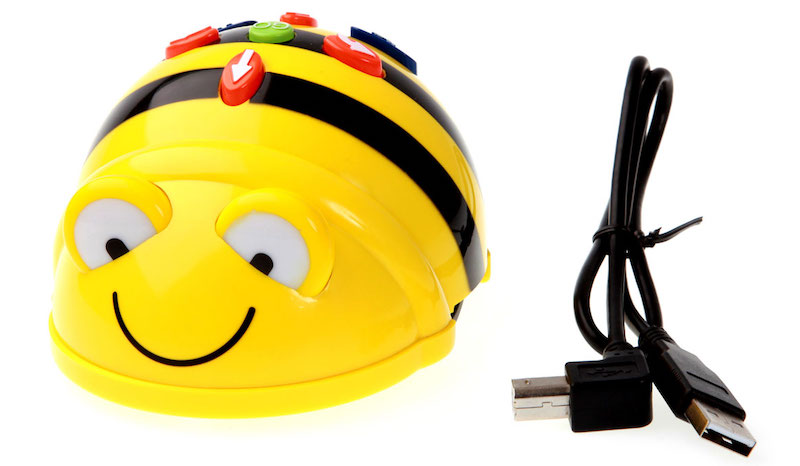
Before jumping in to how to use the Bee-Bot, let's start with some of the basics. Both the individual Bee-Bot's and those that come in the Hive Bundle ship with chargers. The individual pack includes a charger in the box and the Hive Bundle includes a docking station teachers can plug in to a power source. The See & Say Bee-Bot displays the flashing red light in its eye when its battery is low, a solid red light while charging, and a solid green light once it is fully charged. The original model displays a green light in its left eye when charging and it switches off once fully charged. It's definitely best to leave the robots connected to power leading up to any planned use with students but try to remove them from the chargers once they are fully charged to preserve their long-term battery.
Screen-free coding and tactile programming.
Since children can program the Bee-Bot without a screen, you may suspect its buttons have something to do with this. And, that's true—kids can press the directional buttons on the back of their Bee-Bot to create programs. In fact, they can include up to 200 commands in every program and learn logic and sequencing skills along the way. While the Bee-Bot is sitting on a desk or floor, students can press its buttons to create a program. They'll have the forward, backward, left, and right buttons to choose from, allowing students to make their robot move all around their learning space. They could also incorporate the pause button (blue) for their robot to pause momentarily if that works in their program.
When students first power their robots on, its memory will be blank. This means they won't be able to do anything by pressing the go button until they build their program. They can, however, start building these programs right away simply by pressing the directional buttons. Keeping their space in mind, each of the BeeBot's forward and backward blocks results in your robot moving approximately 150 millimeters in the corresponding direction. Pause blocks will result in the Bee-Bot pausing for exactly one second and turn blocks make it turn right or left at an angle of 90 degrees.
Coding in early education classrooms.
Once they have a program, students can run it with the go button or start over with the clear button. Once the Bee-Bot begins running any program (as soon as a student presses the go button), it will execute each individual element of the program. After it has completed the sequence, the Bee-Bot will then play a sound and, should they need to, students can stop the program at any time by pressing the go button once more. Also, once their Bee-Bot's memory fills up with the maximum of 200 commands, kids will be unable to add anymore. They can choose to run the program they have or hit the clear button to start over.
Though kids probably won't even realize, especially since they're at such an early age, this type of program construction certainly counts as a basic form of coding—one that's even appropriate with children who are as young as four years old. Once they're ready, they can also work in some digital coding with the Bee-Bot app. It's available on iOS and Android devices and adds an extra layer of digital interactivity to coding with the Bee-Bot. This is largely because students will utilize a similar approach to building programs. Their app includes digital versions for the same directional keys and kids are challenged to complete 12 increasingly complex levels before time runs out, helping to add some elements of gamification as well.
How to charge the Bee-Bot and troubleshooting tips.
As for charging the Bee-Bot, you can use the included USB chargers for super easy refueling. The charging socket is located on the bottom side of the robots. Simply connect one end of the cable to that socket and the other to a power adapter or USB port. To charge it using your Docking Station, just place your robot(s) into the station and connect the cable to power. It typically takes roughly two hours to fully charge up your Bee-Bot if its battery was low. When fully charged, students could use it for up to 1.5 hours of continuous learning and it should last for about six hours if it's used sparingly. Finally, when connecting your Bee-Bot to charge, make sure it is powered off.
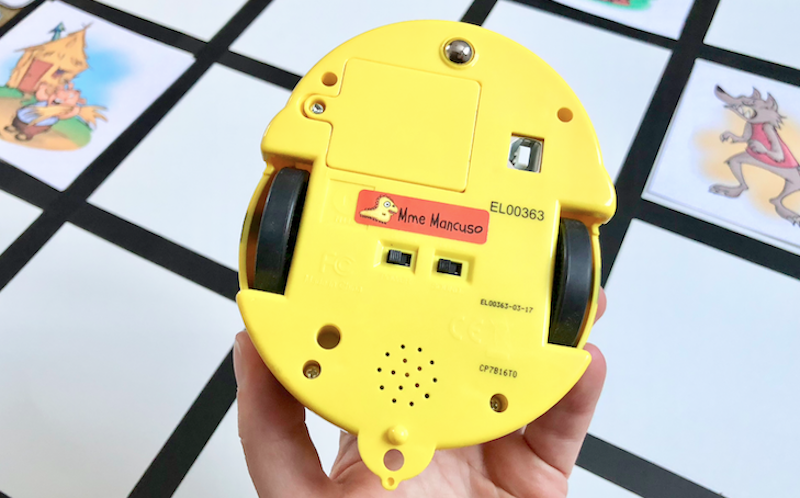
As with any EdTech tool, technical issues can arise from time to time. Here are some basic troubleshooting tips for instructors to minimize downtime when using the Bee-Bot. Despite technically precise components within the robot, its outer shell cannot withstand much abuse. It's best for students and teachers to be very careful to avoid dropping it or knocking it off tables. Also, if a situation occurs in which your BeeBot's lights are on, but it's not moving, it'll likely need recharging. If it has issues traveling straight, be sure there are no objects, like desk or chair legs, in its path. Finally, if using the Bee-Bot See & Say and it's failing to interact with other robots, check that its sensor and sound switch are both in the on position, that any mats are flat, and that there are no objects between robots.
Accessories for the single robot and Bee-Bot Classroom Set.
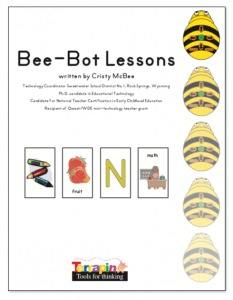
In addition to the docking station, which we'd mentioned is awesome for charging, there are other helpful Bee-Bot accessories. Among them is the Bee-Bot Learning Station, Terrapin Robot Sensor, digital Bee-Bot lessons, Bee-Bot Alphabet Cards, Bee-Bot Command Cards, or the Bee-Bot CVC (consonant-vowel-consonant) Word Cards. The Learning Station simply includes a grid-style Bee-Bot or Blue-Bot Card Mat with your Bee-Bot or Blue-Bot. As for the lessons, this digital item includes your login code for accessing the online library of Bee-Bot guides. There are more than 1,000 images and 100 lessons in total, so that teachers can use the Bee-Bot curriculum-wide.
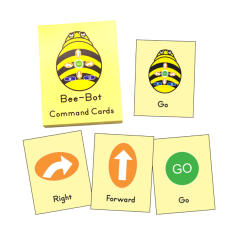
Next, the Alphabet Cards include 26 images (A-Z) that educators can opt to use in enhancing their early literacy activities. Each card contains an upper and lower case letter on one side and a word printed on the other. Further, the Command Card Set contains a visual representation of the Bee-Bot commands so students can design programs screen-free. This helps them with program design, planning, and learning how to make adjustments if they encounter any issues. Finally, the CVC cards include colorful images of consonant-vowel-consonant words on one side with full, printed words on the other. Using any of these cards, teachers can lead robotics activities focused on helping young children develop their language, reading, and matching skills—truly adding key literacy development to learning with technology.
Bee-Bot activities in early education.
We hope this helps you feel more comfortable with using the Bee-Bot in your early education classroom. If you have any questions or have seen any other issues arise, feel free to contact our team. Also, you'll find our range of Bee-Bot packs, bundles, and accessories below and on our store. Check out all the Blue-Bot kits, too, for a Bluetooth-enabled option when introducing coding in early education. Finally, follow us on Twitter and Instagram for more!

2 Comments