
If you’re looking for a small, easy-to-use, but high-quality 3D printer, the MakerBot Replicator Mini is for you. Before this experiment, I had very little 3D printing experience. I assumed they were all too complicated and sophisticated, so I was amazed by the simplicity that comes along with the MakerBot Mini. Once I got it unboxed, a sticker on the printer directed me right to the Get Started page on the MakerBot website. There, I was able to quickly download the MakerBot app and the MakerBot Print software. I had Khat, our Graphic Artist (and 3D printing pro!) help me out with this week’s Eduporium Experiment.
He described the set-up as extremely easy because all we had to do is attach the extruder and printer plate, which just snap into place with magnets. The printer simply connects to the computer by USB, but also has Wi-Fi-capability. He showed me a functional and useful cable support holder he printed to organize our HTC Vive cables in our techXplore room. He also told me about a Pokémon he printed for our CEO’s son.
He printed the exact one on the New Matter MOD-t to see which would finish first and which would be of higher quality. He found that the Pokémon printed on the MakerBot was not only of better quality, but finished way before the one done on the MOD-t. Now, these are machines designed differently and if you want an affordable 3D printer that will still get the job done, the MOD-t should be near or at the top of your list.

He went on to describe the MOD-t as better for “entertaining” or watching something print because of its four glass sides and because the plate moves during the printing process while the extruder stays still. Its glass enclosure also provides for safer viewing for kids. In comparison, the plate of the MakerBot stays still while the extruder moves, making it less pleasing to watch, and the sides are all open, which can be unsafe if children were to accidentally get too close. In the end, the main difference between the two is the price.
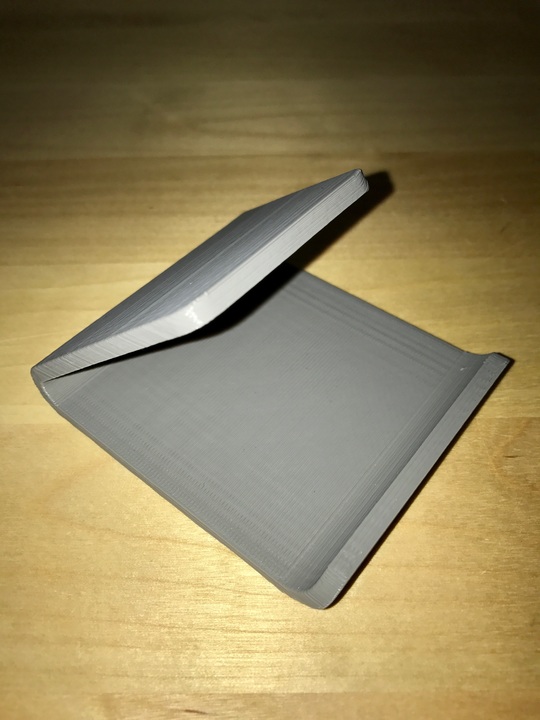
For this week’s experiment, I decided to print a phone stand for my desk because everybody needs one of those. We decided on a neutral grey PLA filament then pulled up Thingiverse, an online design community owned by MakerBot and created for sharing 3D printable designs. We found a sleek pre-made design and downloaded it. It was an extremely simple process of extracting the file, uploading it as a new model on the project panel of the MakerBot Print software, and pressing print! The software gave a material estimate and time estimate, which was extremely helpful in determining which filament to load to ensure we didn’t put in a roll that didn’t have enough filament left. Once it started printing, I noticed that it wasn’t quiet, but it also wasn’t absurdly loud.
I was especially excited to download the MakerBot Mobile app so I could monitor my phone stand as it printed from my desk away from the printer. This is a great feature that you simply do not get with every 3D printer on the market. This feature is extremely attractive for those who want to be able to control and view their project away from the printer using the on-board camera, though I never actually got it going myself.
All in all, I’m very pleased with my new phone stand! It only took about two and half hours to print and turned out exactly as I had hoped. Although it wasn’t as quiet as I thought it would be, the MakerBot Mini was definitely effective, fast, and had easy set-up and usage processes. It’s on the expensive side, but can be cost effective for schools and certain businesses. To order a MakerBot Replicator Mini of your own, visit the Eduporium store. And, look out a week from today for the next edition of the Eduporium Experiment featuring the Ozobot Bit! In the meantime, don't forget to follow us on Twitter and Instagram for more and you might as well like us on Facebook, too!