

| The Ozobot Bit is one of the best robots for teaching coding. Here are the most important things to know when it comes to the Classroom Kit. 1. The Bits can be charged simultaneously using the three multi-port USB chargers. |
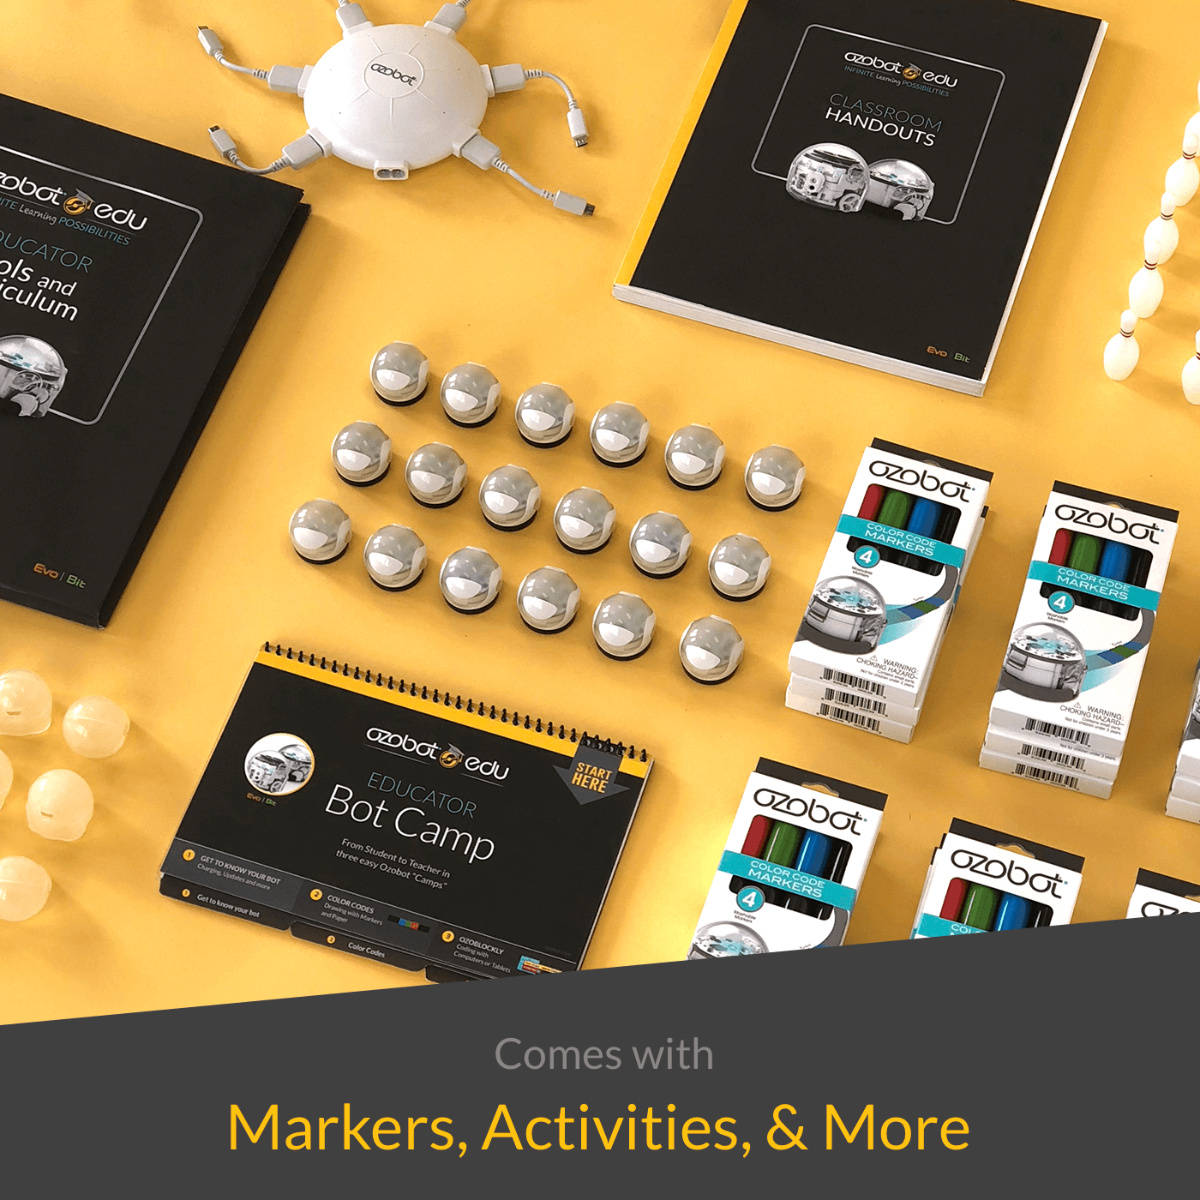
Inside the Ozobot Bit Classroom Kit you will find numerous materials to support classroom instruction, including an Educator’s Guide, color codes charts, OzoBlockly Get Started Guide, a tips sheet, log sheet, Ozobot Drivers Ed Activity, and student certificates. Accessories include three multi-port chargers for simultaneous charging, DIY skins for protection, a storage case for the Bits, and a durable plastic bin for storing all of the materials in one place.
Being able to code a robot in two different ways is a highly attractive feature of the Ozobot. The first kids can code is via color coding, which involves groups of different colors drawn in a line. These are commands kids can draw with markers that tell the Bit what to do. They must be drawn on pain white paper with black, blue, red, or green markers. You can find these on the color codes reference chart. Color codes must be drawn within the black lines and should be no wider than the marker’s chisel tip. But, make sure they’re not too thin and, if you make them to dark, the Bit may read the blue or green as black.
Since the Ozobot Bit relies on optical sensors to read the color codes, it must be used indoors on a clean, flat surface as its sensors will not function outdoors in bright sunlight. Sometimes, the Bit may need to be calibrated to the surface and light environment. You can do this easily on paper by drawing a filled-in black circle and holding the Bit’s power button down. When its LED blinks white, place the Bit on the black dot and let go. It should move forward and blink green if successful. If it blinks red, repeat this process.
When students have mastered color coding, it’s then time to introduce them to OzoBlockly. OzoBlockly is accessible via the web on a computer or tablet that’s connected to Wi-Fi. It is a block-based programming editor with five levels so that students can progress through learning different coding skills. Students can totally hack their Bit’s behavior and create innovative programs for it to complete. Since the Bit doesn’t have Bluetooth, students can download their programs onto it by utilizing the Flash Loading feature within OzoBlockly and pressing the robot to their screen. Always make sure your device’s brightness is set to 100 percent and avoid any light glares to make this process run smoothly!
Be sure to use these guidelines to get started or continue using your Ozobot Bit Classroom Kit. If you’re interested in purchasing an Ozobot kit, head over to our store. We have kits of various sizes, including the Ozobot Bit, Evo, and other accessories. If you’d like to check out our other MakerEd tools for STEAM education, you can find them on our store. And, if you have any questions regarding Ozobots, feel free to contact us at support@eduporium.com and follow us on Twitter and Instagram for more EdTech Tips & Tricks!