| The Ozobot Evo is a very powerful coding tool and, no matter what grade you teach, there are plenty of opportunities to use it in boosting computer science instruction. 1. The Ozobot Evo is app-enabled and compatible with a range of Bluetooth 4.0 devices. 2. Kids can program with the Evo app or OzoBlockly on iOS or Android devices and computers. 3. The Evo makes sounds and has built-in, multi-colored LEDs, proximity detectors, and more. 4. It takes roughly one hour to fully charge an Ozobot Evo and cables are included in the kits. 5. With the Evo, students can build coding, collaboration, and computational thinking skills. |
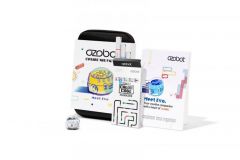
The Ozobot Evo Educator Entry Kit comes with a robot, charging cables, and other accessories—perfect for introductory coding. The Ozobot team, however, also designed a super intriguing, AR-enabled MetaBot. Using this unique wrinkle to coding with the Ozobot Evo, students can build programs in OzoBlockly and then capture and transfer them to their device. This allows them to see the augmented Ozobot Evo run the program on-screen and in the palm of their hand. It also allows them to code without a physical robot and helps students better grasp the programming options available within OzoBlockly—even when they might be outside the classroom. And, the Evo remains a highly effective coding education tool regardless of the updates with much of that due to its capabilities and simplicity.
Two ways of coding: colors and blocks
Students can code with the Ozobot Evo in one of two unique ways: screen-free with color codes, markers, and paper or by accessing OzoBlockly on their device. Plus, for teachers, the Ozobot Classroom learning management system offers an incredibly smooth experience and it also helps in tracking student progress, monitoring assignments, and increasing efficiency. Starting with the screen-free option, students can draw lines and incorporate any codes the Evo is preprogrammed to recognize. As it moves and follows the lines, it'll also perform any actions associated with each color code it drives over. There are a few dozen Ozobot color codes to choose from—each comprised of three to five small square blocks that store coded pieces of information for telling the Evo to speed up, spin, slow down, turn, light up, and more.
The other way to teach coding with the Evo is using the online OzoBlockly environment. There is so much students can do within OzoBlockly, so the Bot Camp training that comes with the Ozobot Evo purchases is really handy for teachers who want to teach with the Evo while using block coding. There's a walk-through for getting familiar with the five OzoBlockly levels and insights into computer science concepts children will learn. These include loops, variables, logic, functions, and more. It may seem overwhelming at first, but the environment is actually easy for students to navigate thanks to its drag-and-drop functionality and, with the help of the Bot Camp, it becomes much simpler for teachers, too. Also, students can control more through OzoBlockly when using the Ozobot Evo as compared to the Bit, like manipulating its sounds and sensors.
The Ozobot Evo vs. the Ozobot Bit
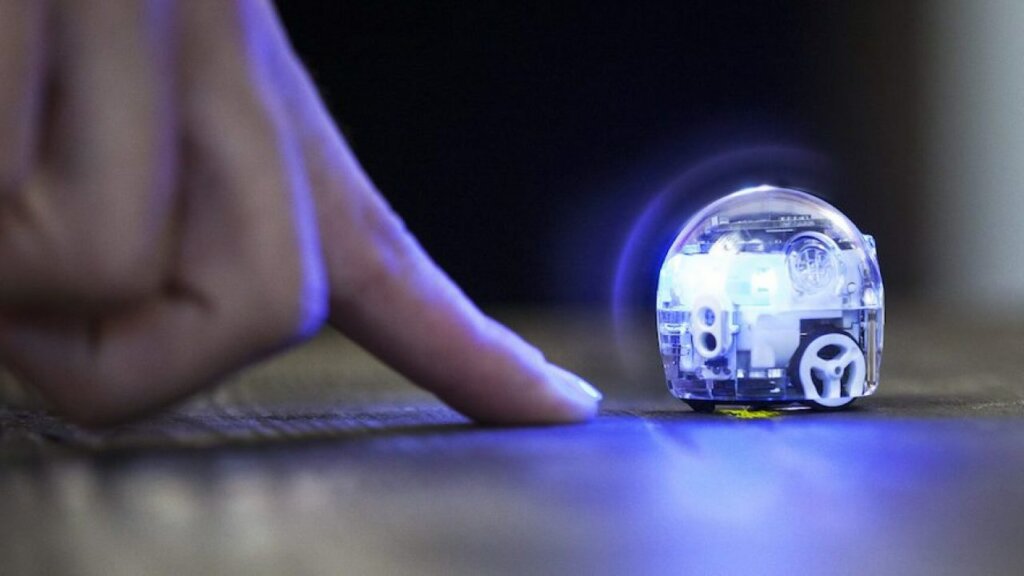
So, what really differentiates the Ozobot Evo from its predecessor, the Ozobot Bit? As for those physical differences, the Evo is slightly different in shape and its transparent shell allows students to see more of its internal components at work. The Ozobot Evo also features Bluetooth connectivity, can make sounds, has multi-colored LEDs, and features proximity detectors. Connectivity wise, this Bluetooth functionality allows students to connect their robots to mobile devices or computers. This helps with expanding its classroom capabilities and gives students the chance to transfer programs in an authentic way. Plus, we should also mention that the Ozobot Classroom LMS has a bunch of updates, including the pacing guides, simplistic progress tracking, enhanced assignment features, and an always-growing lesson library.
In comparison, the Bit, which is now retired, didn't play sounds, had a single LED, and didn't use proximity detectors. It also didn't have the ability to connect with iOS and Android devices via Bluetooth. In terms of using the Ozobot Bit with OzoBlockly, since it did not have Bluetooth capabilities, students would need to hold their robots up to their computer or tablet screen. From there, the computer would then flash Blockly programs to the robot and, when successful, students could then run it. In all honesty, there seemed to be some flaws with this process and the Bluetooth transfer option that we now have with the Evo tends to run much more smoothly—especially in the classroom, for example.
Ozobot Evo compatibility
The Ozobot Evo is compatible with both iOS and Android devices but, as we've said, students don't need their devices for accessing the basic coding features or to play and learn with the Evo. For example, using paper and markers to create courses with color codes is very effective and engaging for early elementary students. This helps them build familiarity with how the Ozobot Evo works and also helps them to develop basic design and computational thinking skills in the process. Plus, with this initial familiarity, they'll quickly become ready to take the next step and program their robot using OzoBlockly. They’ll also get to see how the Evo's proximity detectors work. These built-in sensors help the Evo to stop and turn around anytime it detects an object in its path or to speed up when something gets too close to its back sensors.
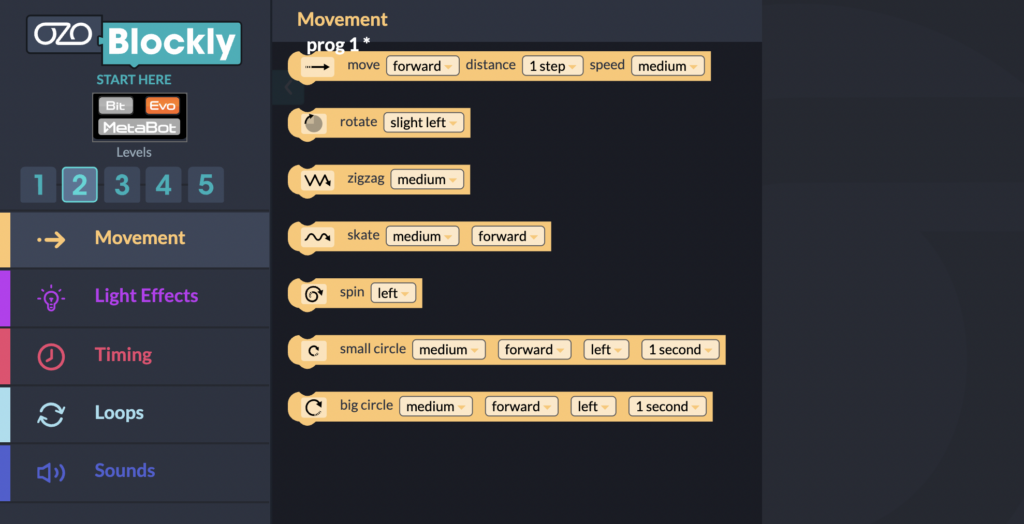
As for device-enabled coding, the only option is to use OzoBlockly. Fortunately, as you may be aware, the OzoBlockly platform is extremely accessible and versatile. It's the perfect transition from color coding and it's comprised of five increasingly complex levels. Beginning in Level 1, students can create programs with the icon-based coding blocks. These blocks are broken down into four categories: movement, light effects, wait, and sounds. It's easy for students to decipher which movements, for example, each block represents. These include turns, zig zags, straight movements, spins, and more. All they have to do is head over to the OzoBlockly platform on a compatible device (iOS and Android devices with a Bluetooth connection).
We'll go over more of OzoBlockly below but, essentially, the five levels progress in complexity with Levels 2 and 3 featuring more traditional block coding and Levels 4 and 5 featuring an introduction to hybrid coding. As such, students could also incorporate additional programming elements, like loops, logic, variables, and functions. Despite what might be perceived to be a bit complex, elementary students will theoretically have the coding foundation for the tougher challenges after progressing through the introductory levels. And, for more compatibility questions, they'll be able to use all the levels of OzoBlockly on computers or laptops as well as iPhones, Galaxy phones, and Google Pixel phones. When using OzoBlockly, just be sure you select the option for the Evo and not the Bit or the MetaBot.
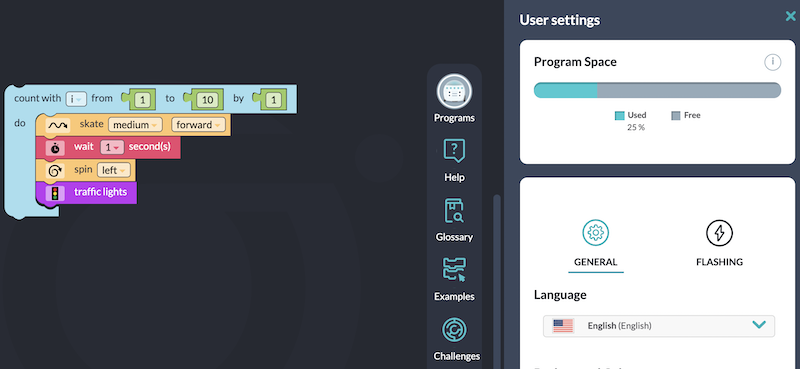
There are also a lot of new elements within OzoBlockly. In the settings tab at the bottom right, for example, students can see how much of the programming space they've used. In the image above, we have used 25 percent of the space thanks, mostly, to the light blue loop block. They can also click the JavaScript button at any point to see how their block code translates into the high-powered text-based language. Plus, within the additional sections, they will find project examples, definitions of key programming terms, tutorials, and how to run the program they've created. To do this, click the top icon (programs) and then click 'Connect' if your robot isn't paired with your device. Once connected, you can select your program and run it right from OzoBlockly. Note that this only applies to using a physical Ozobot Evo robot and not the MetaBot.
More quick tips
If you're wondering how to turn the Ozobot Evo on, all it takes is pressing the power button on its side. To turn it off, quickly press the same button again.
The Ozobot Evo has a LiPo battery kids can charge using the micro USB cable that comes with the kit. It takes roughly one hour to fully charge and can last for about an hour of continuous use.
If using the Ozobot Evo with a large number of students, its sounds can get a bit loud. If you'd prefer to mute them in the classroom, follow these steps:
- Open the Evo app and connect to your Evo.
- From the home screen, tap the Evo and tap More Info.
- Select Mute Evo and tap Apply.
When playing or coding with the Ozobot Evo screen-free (with color codes and markers), it works best indoors on a clean, flat, and plain white surface. After transferring an OzoBlockly program to the robot, it should run smoothly on any flat surface.
And, lastly, remember to always be careful with your Ozobot Evo. Although it has a strong shell and can withstand occasional drops, liquids, dirt, and other contaminants can damage the hardware.
Programming the Ozobot Evo
As a lot of educators already know, students can program the Ozobot Evo with more than just paper and markers. Using OzoBlockly, students can start simple with the icon-based coding and progress to more intricate programs with loops or variables.
To create your own code for your Evo robot:
- Open OzoBlockly on a computer or tablet.
- In the upper left corner, toggle from Bit (green) to Evo (orange) if necessary.
- Drag and drop code blocks to build a program for the Ozobot Evo.
- Save your program by clicking the Programs icon and then the Save icon in the bottom right.
- Once ready, follow the on-screen steps (also covered above) to upload the program to the robot using Bluetooth.
Troubleshooting tips for the Ozobot Evo
If you choose to try the flash loading option (instead of uploading the program using Bluetooth), this can be tricky. Here are some suggestions from the Ozobot team:
- Make sure the computer or device’s brightness is at 100 percent.
- Connect the laptop or device to power or edit the battery options to favor performance over battery life.
- Close any extra browser tabs and applications.
- If using multiple monitors, don't interact with any of the screens to avoid frame drops.
- If there's a glare on the screen, try angling the screen, dimming any lights, or rotating the robot away from the light.
New kits and curriculum
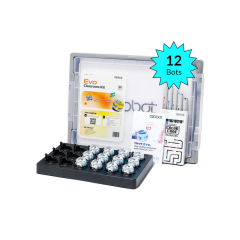
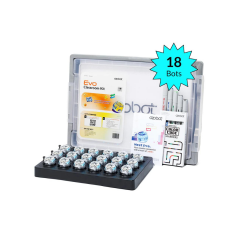
We know there's so much to cover in terms of teaching coding with the Ozobot Evo and hope this helps! With both its screen-free options or its block coding challenges, the Evo remains among the top classroom robots. It also continues to be versatile and valuable with helping kids build a computer science foundation in the elementary grades. To learn more about the Ozobot Evo, the Classroom Kits (12-pack and 18-pack), or accessories, visit our store. There's also new curriculum packs for teaching with Blockly or color codes. You can follow us on Twitter and Instagram for more EdTech Tips & Tricks or reach out with any specific questions. Check out the Ozobot coding simulator too if you don't have any Evo's in your classroom!
| Feel free to contact the Eduporium team or request a quote on Ozobot Evo kits below. |